Hi Guys, Welcome to Proto Coders Point, In this Tutorial Will be implement Hero Animation in flutter using a Widget Called Hero.
Hero Animation in Flutter Application Development
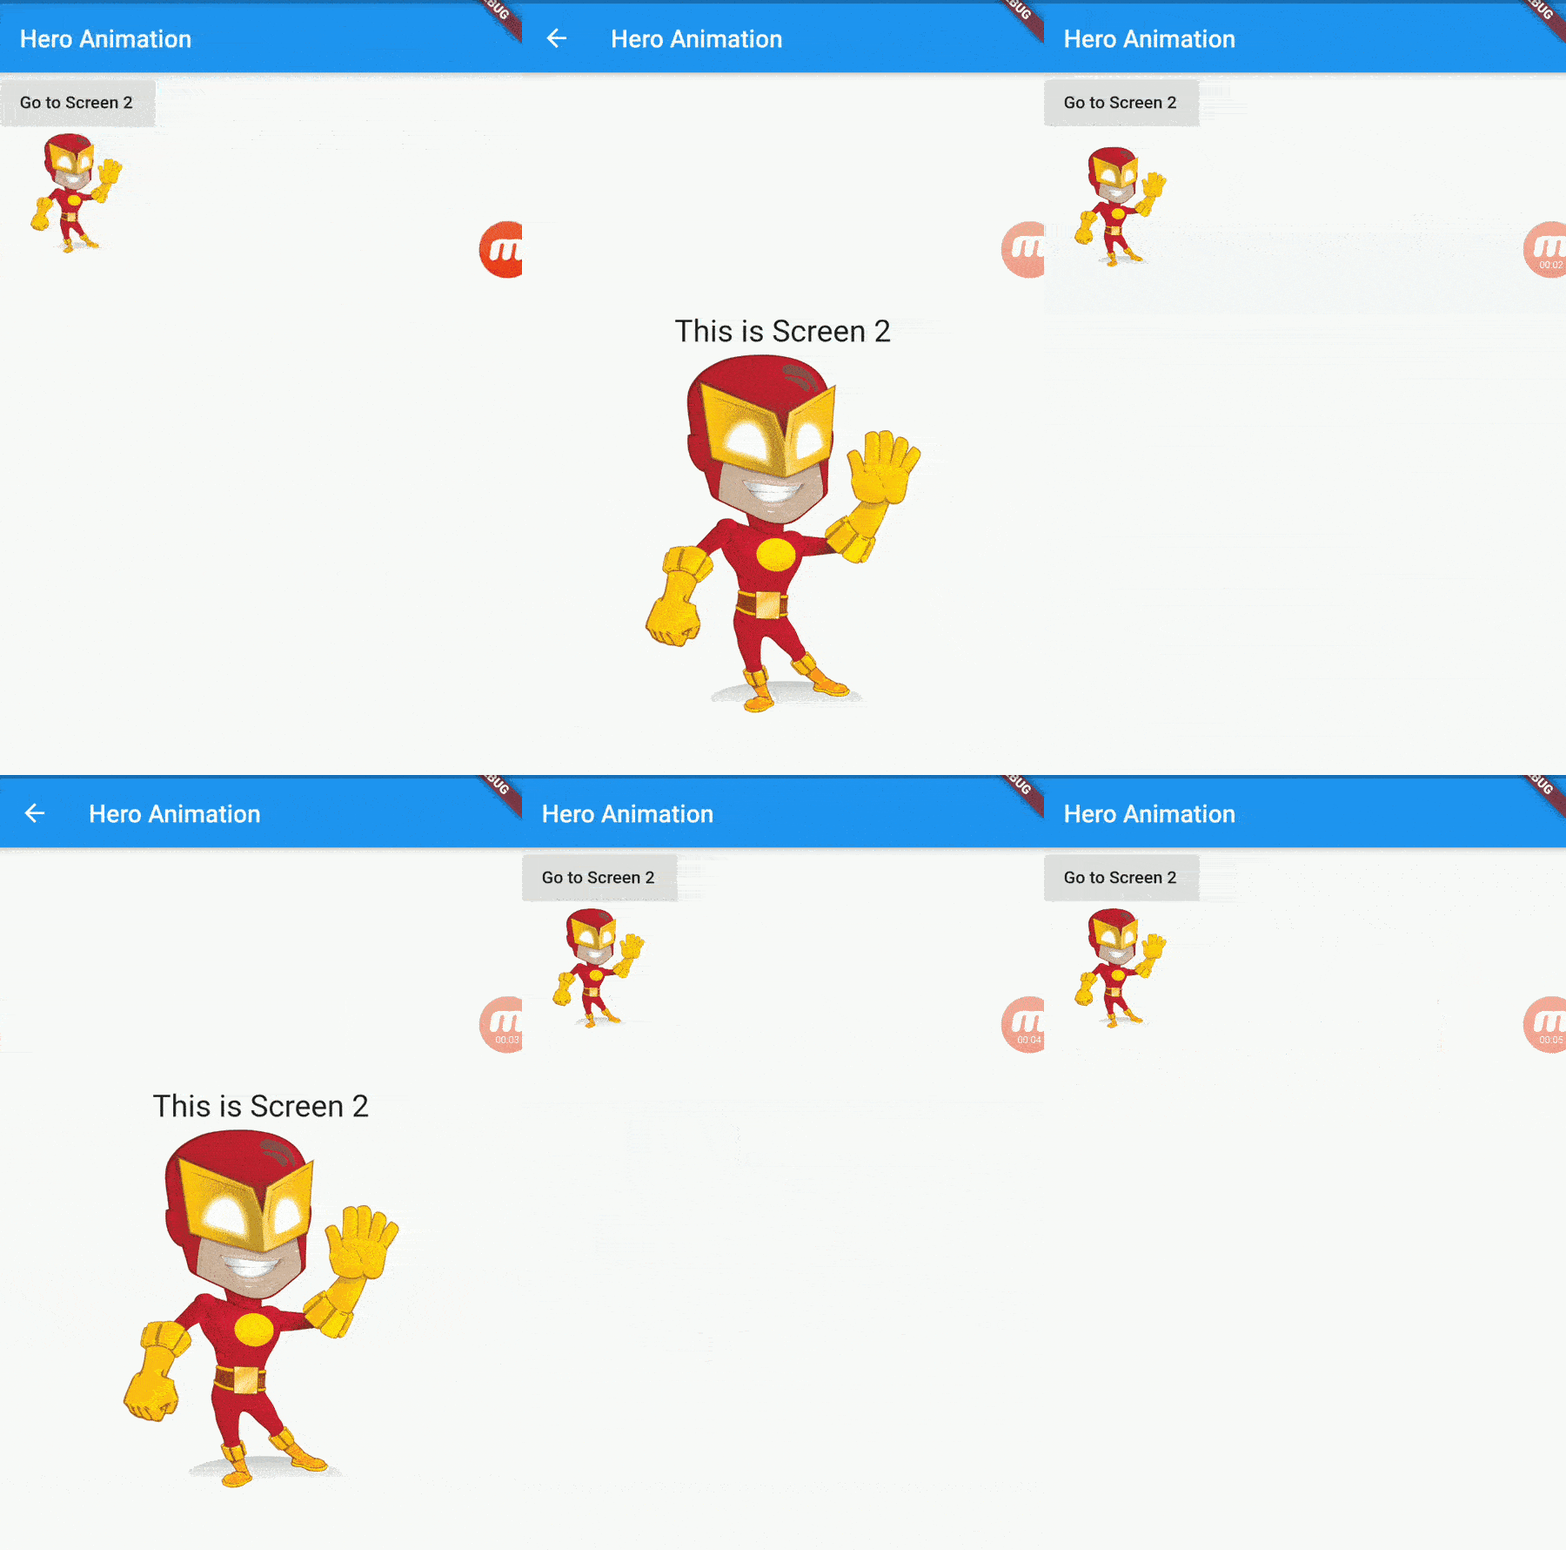
Hero Transition is a great to show an animation effect in flutter. They let’s the user know that they have changed the screens, while keeping the focus of the interaction.
Flutter has a widget called Hero,That will automatically create an hero animation transition effect between two navigation Routes.

Flutter will figure out the widget in both routes & animate the chnages that happens between the route locations.
Let’s suppose you have to show animation effect on a image in flutter app as your UI Hero Animation.
Put it on both the page screen routes.
The one that you’ll be transition from (MyHomePage.dart) and the one you’ll be transition to (Screen2.dart).
Then just you need to Wrap the Flutter Image Widget with a Here Widget on both the Pages.
snippet Code of Hero Animation Widget
Hero(
              tag: 'image',
              child: Container(
                child: Image.asset('images/flash.png'),
                height: 300.0,
              ),
),
then you need to provide a tag to you hero Animation widget.
the Important thing is to use the same tag on both the pages,So that Flutter gets to know which Hero we are Animating.
Video Tutorial
Implementation of Flutter Hero Animation Widget to show Transition Effect
I have created new Flutter project in Android Studio, and then Created a 2 screens i.e main.dart and Screen2.dart
Copy and paste the below codes in respective dart files.
main.dart

import 'package:flutter/material.dart';
import 'package:flutter_app_hero_animation/screen2.dart';

void main() => runApp(MyApp());

class MyApp extends StatelessWidget {
  // This widget is the root of your application.
  @override
  Widget build(BuildContext context) {
    return MaterialApp(
      title: 'Flutter Demo',
      theme: ThemeData(
        primarySwatch: Colors.blue,
      ),
      home: MyHomePage(),
      routes: {
        'screen2': (context) => Screen2(),
      },
    );
  }
}

class MyHomePage extends StatefulWidget {
  @override
  _MyHomePageState createState() => _MyHomePageState();
}

class _MyHomePageState extends State<MyHomePage> {
  @override
  Widget build(BuildContext context) {
    return Scaffold(
      appBar: AppBar(
        title: Text('Hero Animation'),
      ),
      body: Column(
        children: <Widget>[
          RaisedButton(
            child: Text("Go to Screen 2"),
            onPressed: () {
              Navigator.pushNamed(context, 'screen2');
            },
          ),
          Hero(
            tag: 'image',
            child: Container(
              child: Image.asset('images/flash.png'),
              height: 100.0,
            ),
          ),
        ],
      ),
    );
  }
}
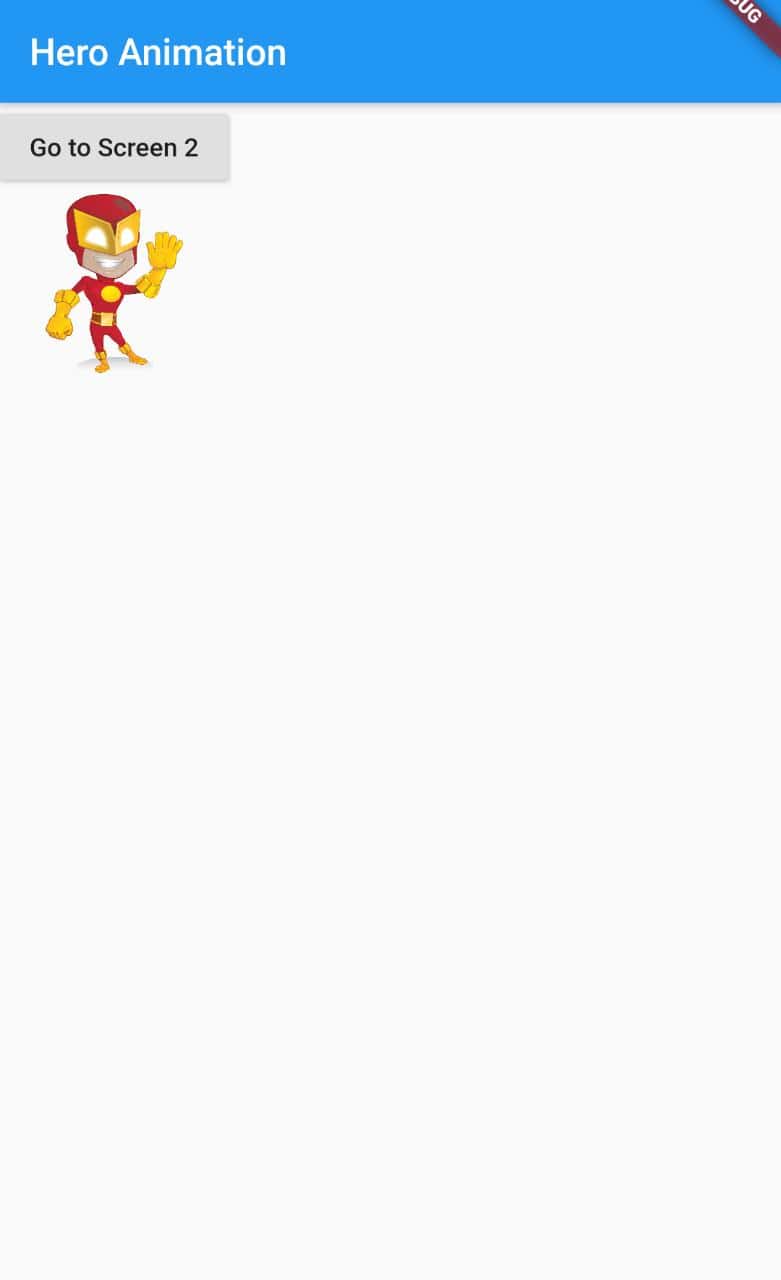
Here in main.dart file i have created a Named routes from that i can easily Navigate from main.dart to Screen2.dart.
main.dart file have 2 main widgets that is a RaisedButton and an Hero widget that contains child as Container with in turn has a child with Widget Image.
Screen2.dart

import 'package:flutter/material.dart';

void main() => runApp(MyApp());

class MyApp extends StatelessWidget {
  // This widget is the root of your application.
  @override
  Widget build(BuildContext context) {
    return MaterialApp(
      title: 'Flutter Demo',
      theme: ThemeData(
        primarySwatch: Colors.blue,
      ),
      home: Screen2(),
    );
  }
}

class Screen2 extends StatefulWidget {
  @override
  _Screen2State createState() => _Screen2State();
}

class _Screen2State extends State<Screen2> {
  @override
  Widget build(BuildContext context) {
    return Scaffold(
      appBar: AppBar(
        title: Text('Hero Animation'),
      ),
      body: Center(
        child: Column(
          mainAxisAlignment: MainAxisAlignment.center,
          children: <Widget>[
            Text(
              'This is Screen 2',
              style: TextStyle(fontSize: 25.0),
            ),
            Hero(
              tag: 'image',
              child: Container(
                child: Image.asset('images/flash.png'),
                height: 300.0,
              ),
            ),
          ],
        ),
      ),
    );
  }
}
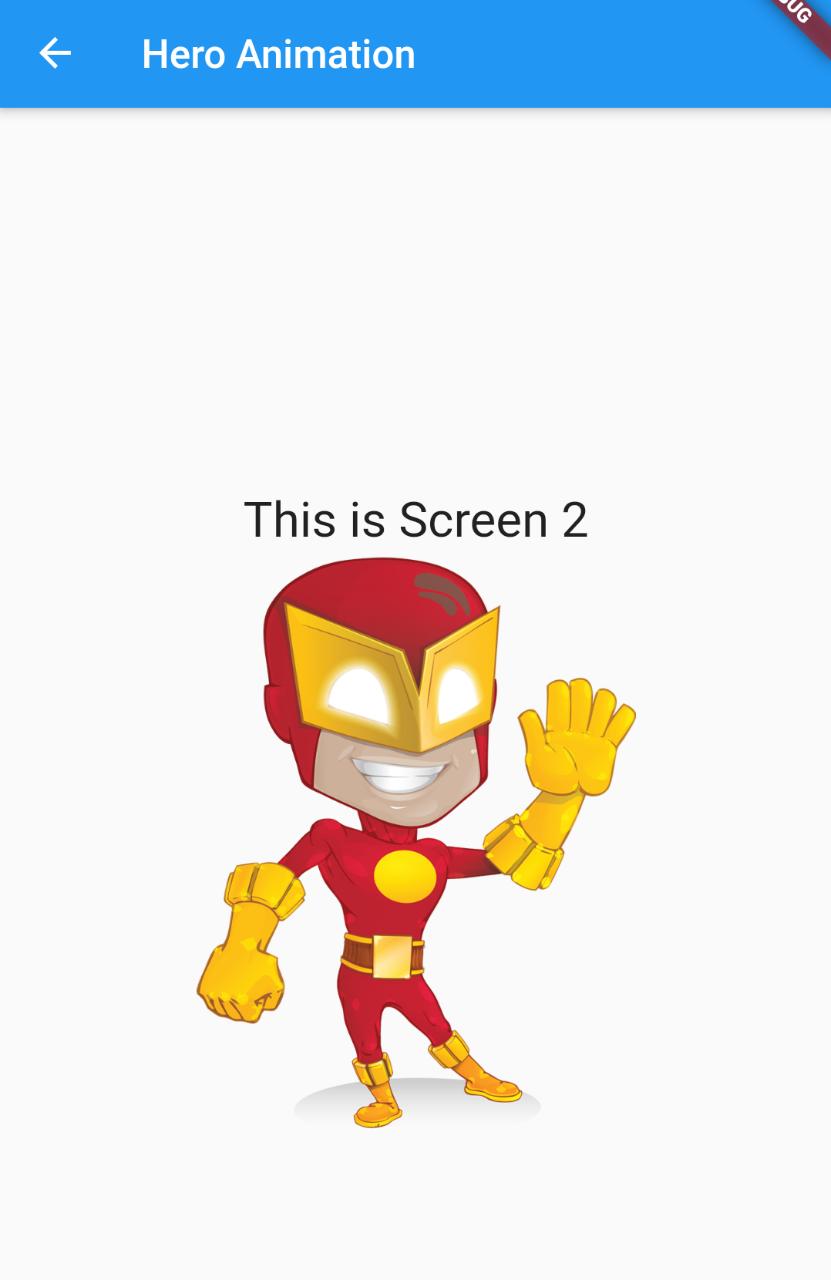
as you can see in both the above pages codes that i have made user of Hero Widget that has a tag : ‘image’ with both the pages so that flutter can identify which widget should show Hero Animation
and All is set app is ready to show Hero Amination in your flutter app.
For Custom Animation in Flutter check out this post here


[…] Facebook shimmer effect for android is been implemented in the layout file, That means we can simple nest any number of android views inside a ShimmerFrameLayout tag. and just you need to initialize and call the start or stop shimmer method to begin animation effect. […]