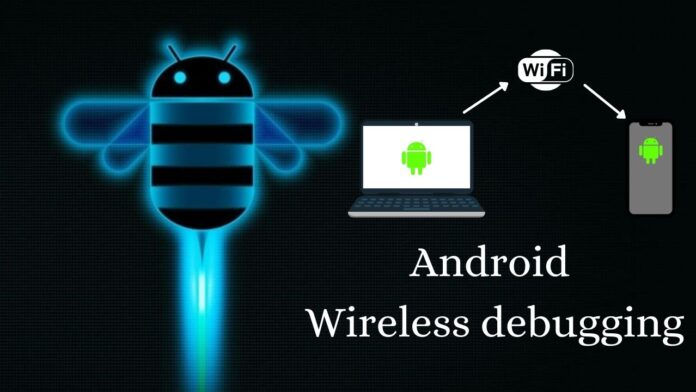
Hi Guys, Welcome to Proto Coders Point. In this tutorial will learn How to run a app on your Android device without USB, ADB over WiFi: What You Need to Know, so basically will debug android project & run on physical device wirelessly through WiFi.
So with latest release of android studio i.e. bumblebee 2021.1.1, There is a new feature been added, ADB over WiFi, have a ability to run/debug native android or flutter project wirelessly using WiFi, so there is not need of USB debugging to connect mobile to laptop for debugging/run android project.
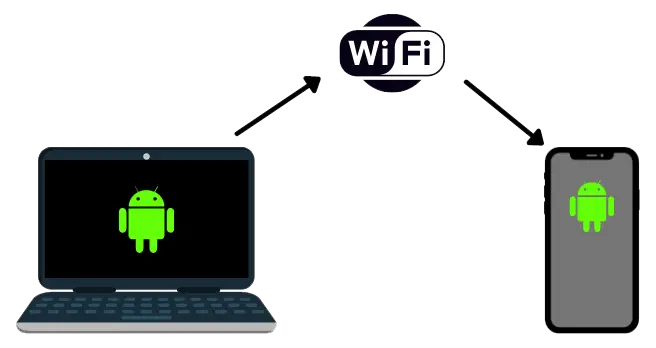
Mandatory requirement to run app on mobile wirelessly – ADB over wifi
- Android Studio Bumblebee – 2021.1.1 or above version.
- Physical Mobile device should have android 11 or +.
- PC/Laptop & phone should be connected to same wifi network.
Let’s get started
Android studio bumble bee – Wireless debugging over wifi
Video Tutorial
Let’s connect physical device through WiFi to run android project wirelessly on phone.
1. Update IDE to Bumblebee
The first step is to check if your android studio IDE is 2021.1.1 i.e bumblebee, if not then update it.
IDE Menubar -> Help -> check for updates...

A stable version of bumblebee
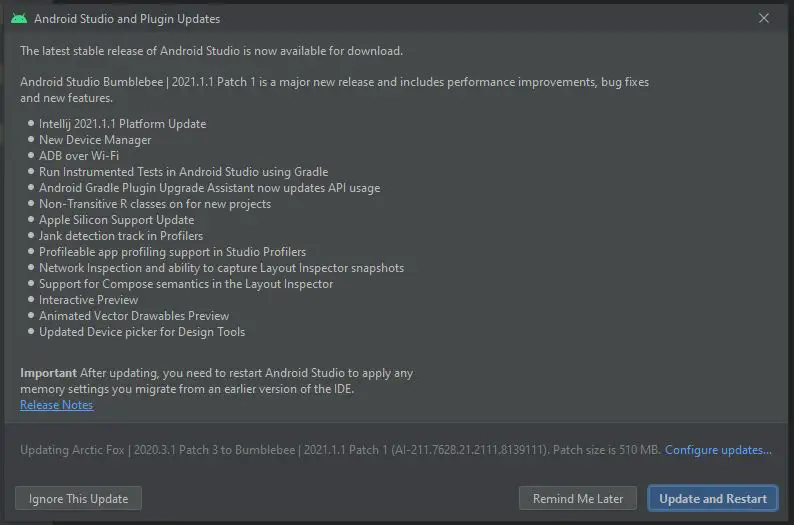
You can read the list of new feature added in android studio bumblebee, one of them is ADB over Wi-Fi.
Preparing IDE for update

Restart IDE ater upgrade


2. Enable Wireless debugging on android 11
Note: Only available on Android 11 & above.
In your android phone, first of all:
Enable developer debugging option for that goto settings -> about -> build number (Tap on it 5 times to enable developer options).
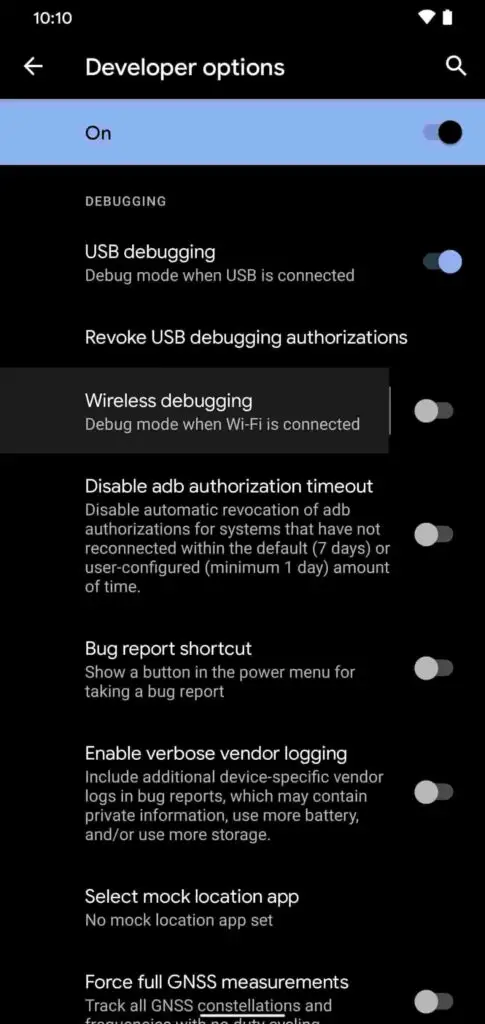
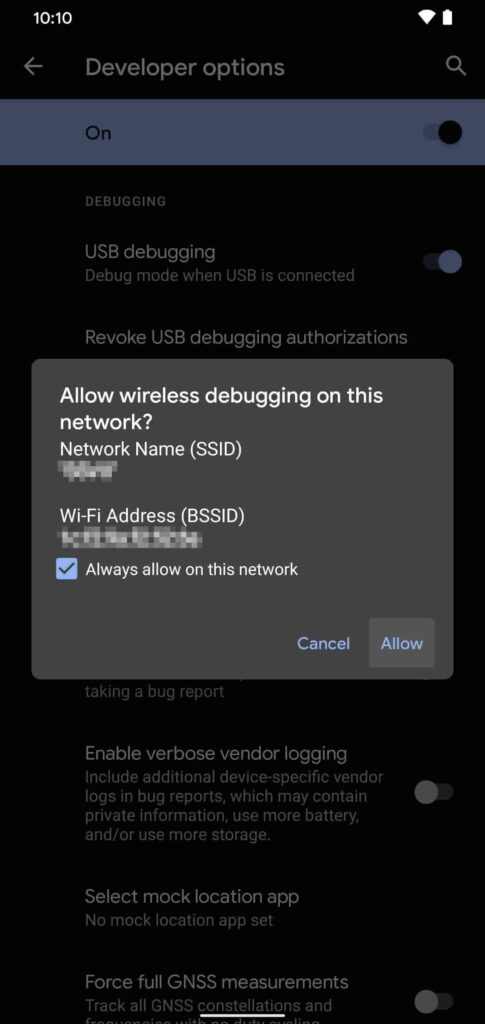
Then Settings -> System -> Advanced -> developer option, Now you will see wireless debugging tap on toggle button to turn on/off, A pop will appear “Allow wireless debugging on this network”, Tap allow.
3. Pair Device with QR code/pairing code
Now in Setting -> System -> Advanced -> developer option -> wireless debugging, being in that screen.
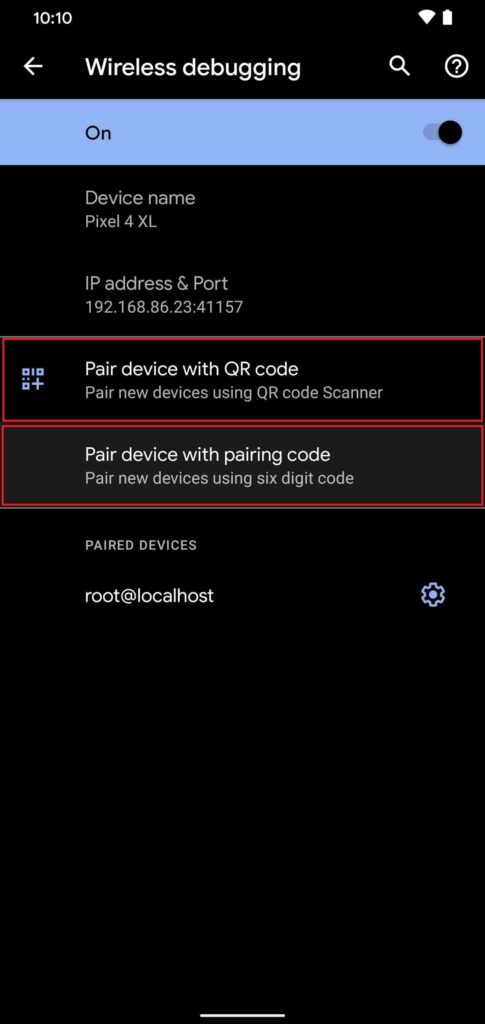
As you can see, there are 2 ways to pair new device to IDE for Wireless wifi debugging.
- Pair device with QR code: From mobile you need to scan a QR code that appear on android studio IDE to pair through WiFi.
- Pair device with pairing code. You will get 6 digit wifi pairing code, that you need to enter in IDE to get paired.
We are done with mobile side, let’s go to IDE.
4. Android Studio IDE – Pair using WiFi – device manager
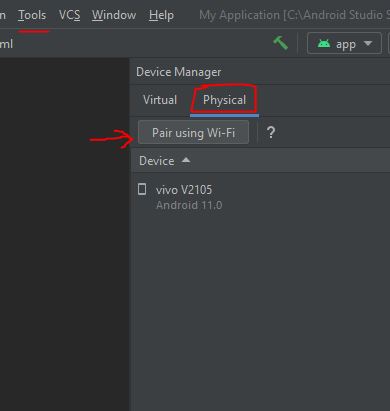
In IDE -> Menubar -> Tools -> Device Manager.
Click on Physical -> Pair using WiFi.
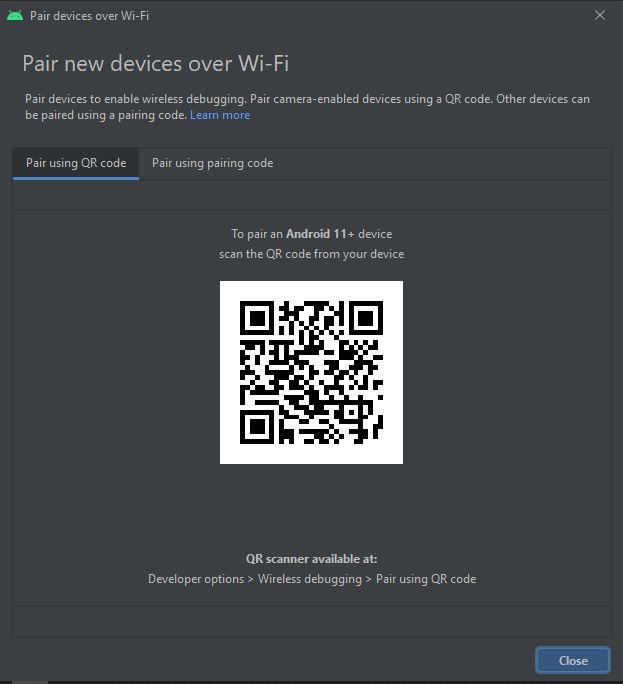
Pair using QR code
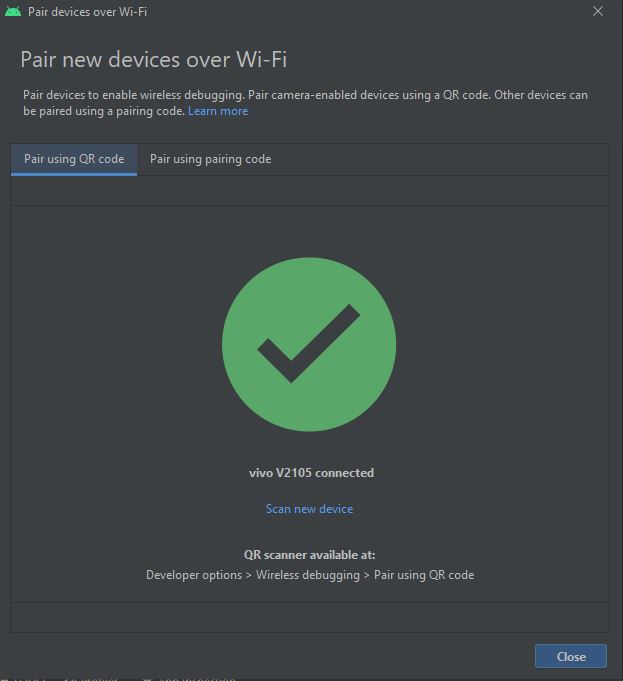
Here you just need to scan the QR code from your physical android device and your device will get connected to IDE for wireless debugging.
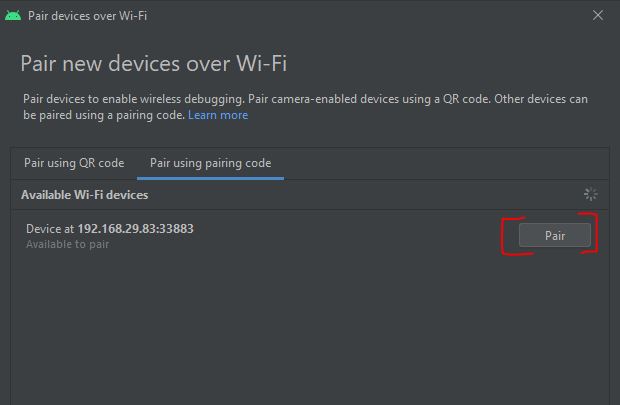
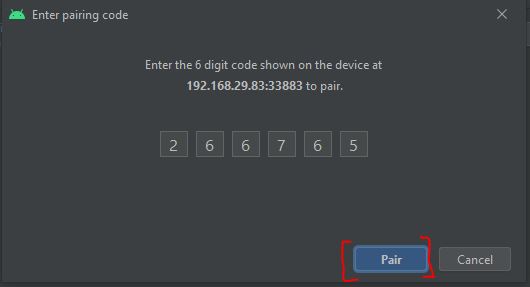
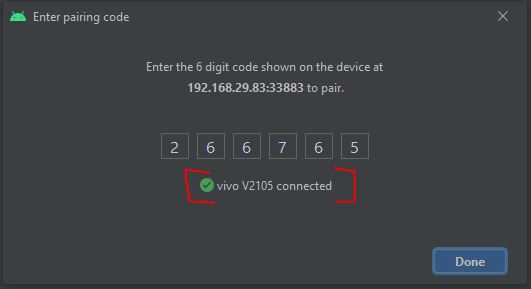
Pair using pairing code
As I said above, your mobile device will give you a pairing code, that you need to enter into IDE to getting connected to wireless debugging.
