
Hi Guys, Welcome to Proto Coders Point. In this Article let’s Install ubuntu on windows by using Windows Subsystem for Linux (WSL).
So basically WSL will install the complete Ubuntu Linux Terminal envirnoment into your windows Operation System as a subsystem.
By installing WSL you can access Linux terminal & it’s file system on Windows and develop cross platform application without leaving windows.
Time needed: 2 minutes
Below are the Step to use WSL to Install ubuntu Terminal in Windows.
- Windows OS Requirement to install WSL
To use WSL and install ubuntu, you need to first check your system OS specification
1. OS – Windows 10 & above.
2. Wins Build version should be 19041 and higher. - Update Windows
If installed version of Windows is less then 19041 then you need to update Windows, So To update to latest windows version -> In Search box search for Windows Update, open it and Check for Update.
- Open command Prompt
Now Open cmd, and make sure you run it as adminstration.
- Install Ubuntu on Windows
Now, In cmd prompt, you just need to type below WSL command.
wsl --install
This will Download and Install virtual machine with ubuntu on windows - Restart your Computer
Now, Once ubuntu is been installed in windows, To affect the changed you need to restart your Computer.
- Ubuntu setup on windows
Then, After restarting, a ubuntu cmd will get opened automatically, On that window it will say “Installing ubuntu, Please wait for few minutes”. Once it get completed…
It will ask you to enter username & password.
Now you have successfully installed Ubuntu on Windows using WSL.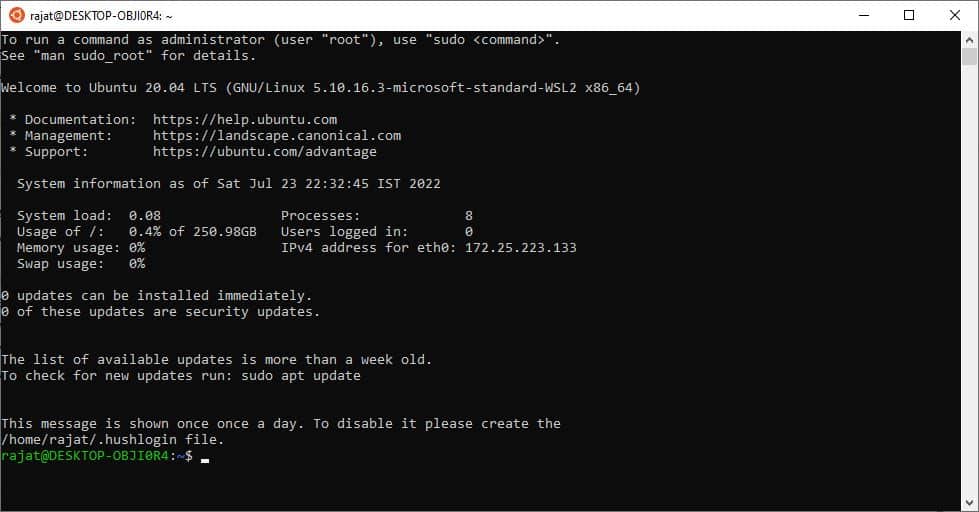


