
Hi Guys, Welcome to Proto Coders Point, In this Flutter Tutorial we gonna Learn basic of Flutter BLoC Pattern, Basically we will build a simple app that can perform Increment & Decrement operations.
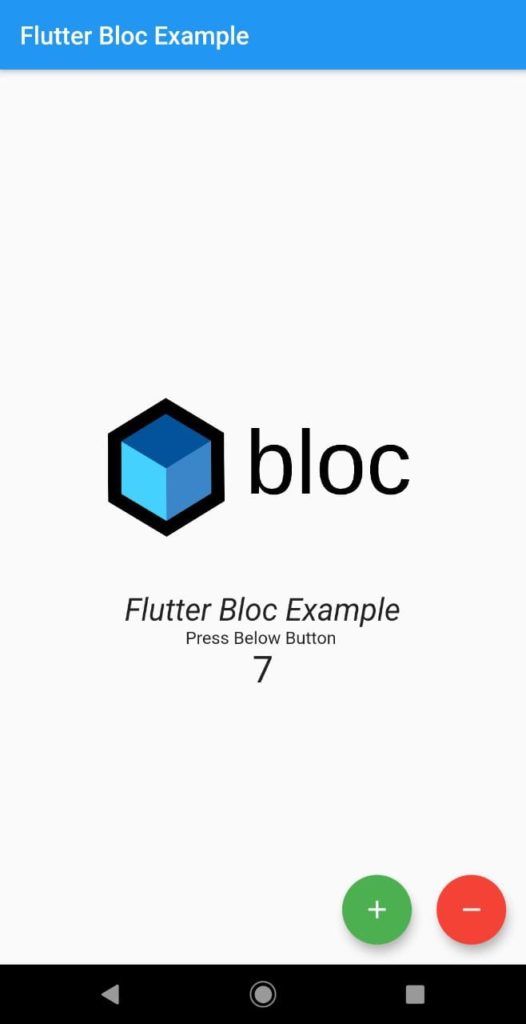
FINAL RESULT
What is a Bloc?
A BLoC we can simply understand with the help of below Diagram.

Business logic Component is basically a Box where Events cames from one side & the State comes out with the required data from other side.
Check out the tutorial atricle on Introduction of Flutter Bloc pattern
https://protocoderspoint.com/introduction-to-flutter-bloc-pattern-tutorial/
Flutter is really an awesome framework because it allows fully freedom to the app developer in how to manage the state, If i say BLoC (Business Logic Component) pattern is the prefect tool that fits for Flutter application and that is the reason i am here with Flutter BLoC pattern tutorial.
Flutter BLoC Pattern Tutorial – Inc & Dec Example
So Basically in our Flutter Bloc pattern example, there are 2 kinds of events that will be performed by the used i.e 1. Increment Event 2. Decrement Event.
Video Tutorial on Flutter BLoC Pattern
Step 1: Create a dart file (Event_Counter)
Now, Create a dart file inside lib folder of your flutter project & name it as
This File will handle event.
Event_Counter.dart
abstract class EventCounter{}

//abstract class to find out which Event was occurred

class IncrementEvent extends EventCounter{}

class DecrementEvent extends EventCounter{}
Step 2: Create a Flutter BLoC Class
then, Now Create a Flutter BLoC Class dart file under lib directory and name it as BlocCounter.dart
import 'dart:async';
import 'EventCounter.dart';

// async enable

class Bloc_Counter{
  int _counter = 0;

  //StreamCountroller handle input and output
  final _counterStateController = StreamController<int>();

  // Sink in Flutter can be easily stated, In Simple Words Sink = Import
  StreamSink<int> get _inCounter =>_counterStateController.sink;

  // Stream in Flutter can be easily stated, In Simple Words Stream = Output
  Stream<int> get counter =>_counterStateController.stream;

  //event controller to trigger which event has occurred
  final _counterEventController = StreamController<EventCounter>();

  Sink<EventCounter> get counterEventSink =>_counterEventController.sink;

  Bloc_Counter(){
    _counterEventController.stream.listen((_mapEventtoState));
  }

  void _mapEventtoState(EventCounter event){
    // depending on event either increment or decrement the counter variable
    if(event is IncrementEvent)
      _counter++;
    else
      _counter--;

    _inCounter.add(_counter);

  }

  // Dispose the Controller, Very important step, Otherwise you may get memory leak
  void dispose(){
    _counterStateController.close();
    _counterEventController.close();
  }
}
Brief information of what is going on the above Flutter Bloc pattern code.
async allows us to use Flutter Feature like StreamController, Stream, Future and Sink.
Sink in Flutter can be easily stated, In Simple Words Sink = Import.
Stream in Flutter can be easily stated, In Simple Words Stream = Output.
Event controller to trigger which event has occurred
and every Controller must be disposed when application is not in use, otherwise it may lead to memory leak.
Step 3: UI Design
Then, open main.dart file and copy paste below lines of code
import 'package:flutter/cupertino.dart';
import 'package:flutter/material.dart';
import 'package:flutter_bloc_example/Bloc_Counter.dart';
import 'package:flutter_bloc_example/EventCounter.dart';


void main() {
  runApp(MyApp());
}

class MyApp extends StatelessWidget {
  // This widget is the root of your application.
  @override
  Widget build(BuildContext context) {
    return MaterialApp(
      title: 'Flutter Demo',
      debugShowCheckedModeBanner: false,
      theme: ThemeData(
        primaryColor: Colors.blue,

        visualDensity: VisualDensity.adaptivePlatformDensity,
      ),
      home: MyHomePage(),
    );
  }
}

class MyHomePage extends StatefulWidget {
  @override
  _MyHomePageState createState() => _MyHomePageState();
}

class _MyHomePageState extends State<MyHomePage> {
  final _bloc = Bloc_Counter();
  @override
  Widget build(BuildContext context) {
    return Scaffold(
      appBar: AppBar(
        title: Text("Flutter Bloc Example"),
      ),
      body: Center(
        child: StreamBuilder(
          stream: _bloc.counter,
          initialData: 0,
          builder: (BuildContext context,AsyncSnapshot<int> snapshot){
            return Column(
              mainAxisAlignment: MainAxisAlignment.center,
              children: <Widget>[
                Image.network("https://raw.githubusercontent.com/felangel/bloc/master/docs/assets/flutter_bloc_logo_full.png",width: 250,height: 200,),
               Text("Flutter Bloc Example", style: TextStyle(fontStyle: FontStyle.italic,fontSize: 25),),
                Text("Press Below Button "),
                Text(
                  '${snapshot.data}',
                  style: TextStyle(fontSize: 30)
                ),
              ],
            );
          },
        ),
      ),
        floatingActionButton: Row(
          mainAxisAlignment: MainAxisAlignment.end,
          children: <Widget>[
            FloatingActionButton(
              child: Icon(Icons.add),
              backgroundColor: Colors.green,
              onPressed: (){
                print("Increment");
                //class bloc class by passing IncrementEvent
                _bloc.counterEventSink.add(IncrementEvent());
              },
            ),
            SizedBox(
              width: 20,
            ),
            FloatingActionButton(
              child: Icon(Icons.remove),
              backgroundColor: Colors.red,
              onPressed: (){
                print("Decrement");
                //class bloc class by passing DecrementEvent
                _bloc.counterEventSink.add(DecrementEvent());
              },
            )
          ],
        ),
    );
  }

  @override
  void dispose() {
    super.dispose();
    //dispose all the controller
    _bloc.dispose();
  }
}
Thus, your Flutter Application is ready with Flutter Bloc Feature.
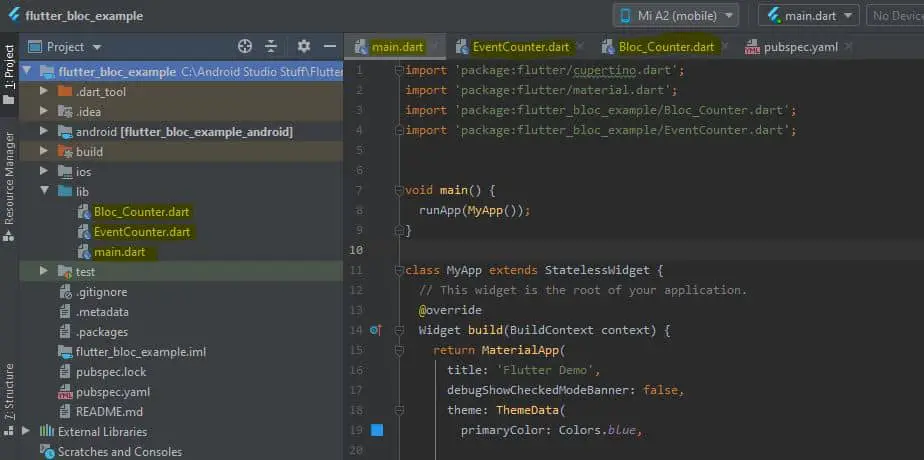
Guys, if you have any confusion just check out my Project Structure below.
Conclusion
In this article we learnt How to Build and Flutter App, that can perform Increment and Decrement operation by using Flutter Business Logic Component to perform the event and change the Flutter application UI state as per .
")


[…] Flutter BLoC Pattern Tutorial – Inc & Dec Example […]