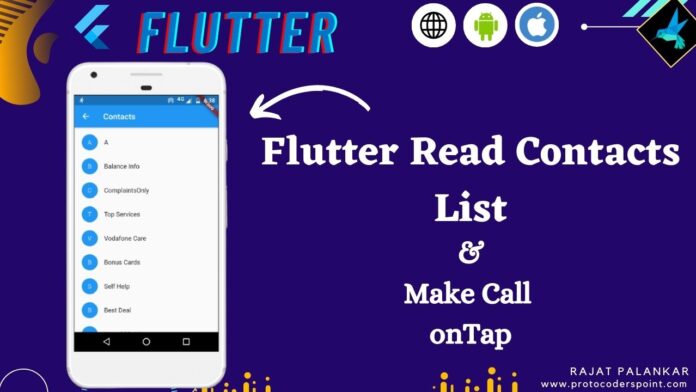
Hi Guys, Welcome to Proto Coders Point. In this flutter tutorial will learn how to access contact list in flutter app.
So here, we will read phone contact list & display it in flutter list & we will also implement making a call when user tap on any contact.
Let’s get started
Strat by creating new flutter project or open existing project in you favorite IDE, I use Android Studio.
Flutter get contact list & make call
Plugin used – Add Dependencies
- flutter_contacts: To read contacts from android & iOS devices.
- url_launcher: To Make a call when user tap on phone number list.
As i said ,from getting contact list froom phone will user flutter_contacts & to make a phone call will use url_launcher, so add those 2 dependencies in pubspec.yaml file under dependencies sections.
dependencies:
  flutter_contacts:
  url_launcher:
Here i am not defining any version so it will auto take latest version, now hit pub git to download & install above plugin.
Platform specific setup
Android Setup’s
Make sure, flutter android module is enabled to support AndroidX, goto android/gradle.properties
check it or add as below
android.useAndroidX=true
android.enableJetifier=true
Check for compileSdkVersion is 28 or above
android/app/build.gradle file
android {
    compileSdkVersion 31
}
Add permission to access device contact list
Open manifest file, android/add/src/main/AndroidManifest.xml
<uses-permission android:name="android.permission.READ_CONTACTS" />
<uses-permission android:name="android.permission.WRITE_CONTACTS" />
To make a call, we must add DIAL action query in manifest file
<queries>
<!-- If your app makes calls -->
        <intent>
            <action android:name="android.intent.action.DIAL" />
            <data android:scheme="tel" />
        </intent>
</queries>
iOS setup
For iPhone, you need to add NSContactsUsageDescription in info.plist file
ios/Runner/info.plist
<dict>
     ...
     <key>NSContactsUsageDescription</key>
     <string>Reason we need access to the contact list</string>
 </dict>
3. Import flutter_contacts & url_launcher
Now, In main.dart on top import the 2 required dependencies.
import 'package:flutter_contacts/flutter_contacts.dart';
import 'package:url_launcher/url_launcher.dart';
4. Code usage
Flutter plugin to read contacts, by using flutter contacts plugin we can read, create, update, delete contact from devices.
In this tutorial we ill only look into how to read contact in flutter & display in flutter app.
get all contact (lightly fetch)
List<Contact> contacts = await FlutterContacts.getContacts();
get all contacts (fully fetch)
 List<Contact> contacts = await FlutterContacts.getContacts(
      withProperties: true, withPhoto: true);
Get contact first name
contacts.name.first
Get contact last name
contacts.name.last
Get contact full name
contacts.displayname
Get contact email
contacts.emails.first.address
get contact photo
contacts.photo
Source Code – Flutter read contacts list & display it in listview builder
IN below code we are fetchiing all the contacts from contact list & display it in flutter listview builder and when user click or taps on particular phone number from list will make a phone call directly.
main.dart
import 'dart:typed_data';
import 'package:flutter/cupertino.dart';
import 'package:flutter/material.dart';
import 'package:flutter_contacts/flutter_contacts.dart';
import 'package:url_launcher/url_launcher.dart';

void main() async {
  runApp(const MyApp());
}

class MyApp extends StatelessWidget {
  const MyApp({Key? key}) : super(key: key);

  @override
  Widget build(BuildContext context) {
    return MaterialApp(
      title: 'Flutter Demo',
      theme: ThemeData(
        primarySwatch: Colors.blue,
      ),
      home: MyHomePage(),
      debugShowCheckedModeBanner: false,
    );
  }
}

class MyHomePage extends StatefulWidget {
  const MyHomePage({Key? key}) : super(key: key);

  @override
  _MyHomePageState createState() => _MyHomePageState();
}

class _MyHomePageState extends State<MyHomePage> {
  List<Contact>? contacts;
  @override
  void initState() {
    // TODO: implement initState
    super.initState();
    getContact();
  }

  void getContact() async {
    if (await FlutterContacts.requestPermission()) {
      contacts = await FlutterContacts.getContacts(
          withProperties: true, withPhoto: true);
      print(contacts);
      setState(() {});
    }
  }

  @override
  Widget build(BuildContext context) {
    return Scaffold(
        appBar: AppBar(
          title: const Text(
            "***  App Name  ***",
            style: TextStyle(color: Colors.blue),
          ),
          centerTitle: true,
          backgroundColor: Colors.transparent,
          elevation: 0,
        ),
        body: (contacts) == null
            ? Center(child: CircularProgressIndicator())
            : ListView.builder(
                itemCount: contacts!.length,
                itemBuilder: (BuildContext context, int index) {
                  Uint8List? image = contacts![index].photo;
                  String num = (contacts![index].phones.isNotEmpty) ? (contacts![index].phones.first.number) : "--";
                  return ListTile(
                      leading: (contacts![index].photo == null)
                          ? const CircleAvatar(child: Icon(Icons.person))
                          : CircleAvatar(backgroundImage: MemoryImage(image!)),
                      title: Text(
                          "${contacts![index].name.first} ${contacts![index].name.last}"),
                      subtitle: Text(num),
                      onTap: () {
                        if (contacts![index].phones.isNotEmpty) {
                          launch('tel: ${num}');
                        }
                      });
                },
              ));
  }
}


