Hi Guys, Welcome to Proto Coders Point. In this flutter tutorial article will learn how to build listview with list of items in it, & onTap selected item will be displayed on next screen, In the mean while will learn how to pass selected data to next screen.
I has already wrote a complete article on “Flutter Listview onTap Selected Item – send data to new screen” and have a complete step by step video tutorial on youtube ( Check below Video at bottom on this article ).
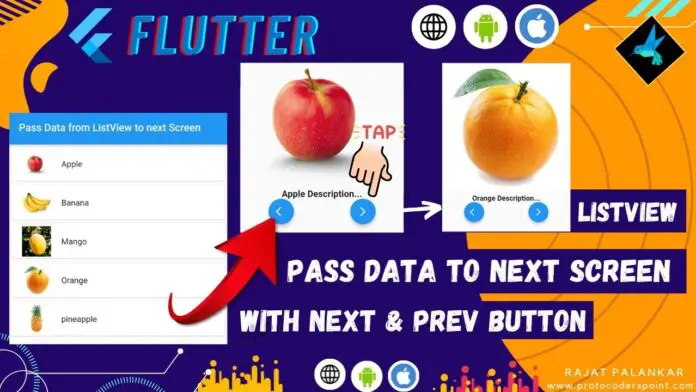
Flutter Listview OnTap Pass Selected Data to Next Page, with Next & Previous Button to switch items
Video Tutorial
Flutter Listview onTap pass data to next page & has next & previous button on page 2
So when user select an item from listview.builder, the selected item data is been passed to page 2 and data is been shown, but if the user wants to read next data item from the list then he has to go back to first page and select the next data item from listview, which is not fully userfriendly.
In this flutter tutorial article, will add new Feature i.e:
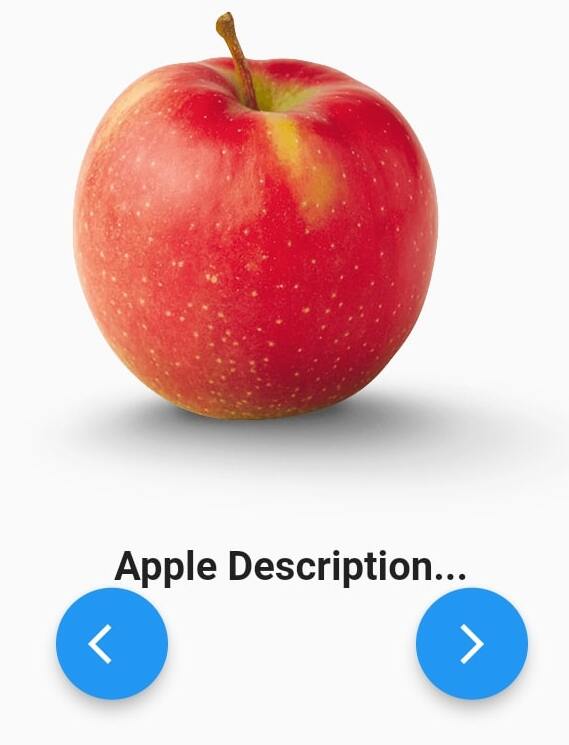
In page no 2, There will be 2 buttons (previous & next) by using which user can change or swap the item from listview by being in page 2 itself. There is not need for user to go back to page 1 to select next item from list.

Complete Source Code – Flutter Listview With Example
Step by Step
We need to create 2 Screen and a dataModel class
(Screen 1) main.dart: Will generate list of data and show in flutter listview.
(Screen 2) FruitDetail.dart: User selected item data will be shown here.
(DataModel) FruitDataModel: Holds Information or a data.
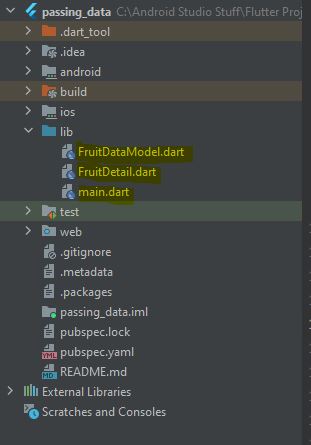
Create above 3 files, for better understanding refer my file project structure.

1. FruitDataModel.dart
A Data Model are class of entities that holds information or a data.
In our app, DataModel has 3 String datatype.
Eg: Name of Fruit.
ImageUrl of Fruit.
Description of Fruit.
Code DataModel
class FruitDataModel{
  final String name,ImageUrl,desc;

  FruitDataModel(this.name, this.ImageUrl, this.desc);
}
DataModel will have a constructor to assign the value to variables strings.
2. FruitDetail.dart
In fruitDetail page, will display details of selected Item from the listview of flutter app.
FruitDetail has a constructor that accept 2 parameter from page 1(main.dart) while navigating.
- Index of user selected item from list.
- FruitDataModel The whole List of data.
It also has 2 buttons (Prev & Next) by which user can change contents of the page.
Code – FruitDetial.dart
import 'package:flutter/cupertino.dart';
import 'package:flutter/material.dart';
import 'package:listview_on_tap/FruitDataModel.dart';
import 'dart:convert';

class FruitDetail extends StatefulWidget {
  final List<FruitDataModel> fruitDataModel;
  int index;
  FruitDetail({Key? key, required this.index, required this.fruitDataModel}) : super(key: key);

  @override
  State<FruitDetail> createState() => _FruitDetailState();
}

class _FruitDetailState extends State<FruitDetail> {
  @override
  Widget build(BuildContext context) {
    return Scaffold(
      appBar: AppBar(title: Text(widget.fruitDataModel[widget.index].name),),
      body: Column(
        children: [
          Image.network(widget.fruitDataModel[widget.index].ImageUrl),
          SizedBox(
            height: 10,
          ),
          Text(widget.fruitDataModel[widget.index].desc,style: TextStyle(fontWeight: FontWeight.bold,fontSize: 20),),
          Row(
            mainAxisAlignment: MainAxisAlignment.spaceAround,
            children: [
              FloatingActionButton(
                heroTag: "f1",
                onPressed: (){
                  setState(() {
                    if(widget.index!=0){
                      widget.index --;
                    }
                  });
                },
                child:Icon(Icons.arrow_back_ios) ,
              ),
              FloatingActionButton(
                heroTag: "f2",
                onPressed: (){
                  setState(() {
                    if(widget.index != widget.fruitDataModel.length-1){
                      widget.index ++;
                    }
                  });
                },
                child:Icon(Icons.arrow_forward_ios),
              ),
            ],
          ),
        ],
      ),
    );
  }
}
3. main.dart
main.dart is the first page/screen, Here we will generate list of data and then pass the list to show the data in listview.builder.
Then when user onTap on any item from listview, we are using Navigator to navigate the user from main.dart to fruitDetail.dart page.
With PageNavigator we are passing 2 parameter to page 2 (fruitDetail.dart)
- Index of user selected item from list.
- FruitDataModel The whole List of data.
Code main.dart
import 'package:flutter/material.dart';
import 'package:listview_on_tap/FruitDataModel.dart';
import 'package:listview_on_tap/FruitDetail.dart';

void main() {
  runApp(MyApp());
}

class MyApp extends StatelessWidget {
  // This widget is the root of your application.
  @override
  Widget build(BuildContext context) {
    return MaterialApp(
      title: 'Flutter Demo',
      theme: ThemeData(
        primarySwatch: Colors.blue,
      ),
      home: MyHomePage(),
      debugShowCheckedModeBanner: false,
    );
  }
}

class MyHomePage extends StatefulWidget {
  const MyHomePage({Key? key}) : super(key: key);

  @override
  _MyHomePageState createState() => _MyHomePageState();
}

class _MyHomePageState extends State<MyHomePage> {

  static List<String> fruitname =['Apple','Banana','Mango','Orange','pineapple'];

  static List<String> url = ['https://www.applesfromny.com/wp-content/uploads/2020/05/Jonagold_NYAS-Apples2.png',
    'https://cdn.mos.cms.futurecdn.net/42E9as7NaTaAi4A6JcuFwG-1200-80.jpg',
    'https://upload.wikimedia.org/wikipedia/commons/thumb/9/90/Hapus_Mango.jpg/220px-Hapus_Mango.jpg',
    'https://5.imimg.com/data5/VN/YP/MY-33296037/orange-600x600-500x500.jpg',
    'https://5.imimg.com/data5/GJ/MD/MY-35442270/fresh-pineapple-500x500.jpg'];

  final List<FruitDataModel> Fruitdata = List.generate(fruitname.length, (index) => FruitDataModel('${fruitname[index]}', '${url[index]}','${fruitname[index]} Description...'));

  @override
  Widget build(BuildContext context) {
    return Scaffold(
        appBar: AppBar(title: Text('Pass Data from ListView to next Screen'),),
        body: ListView.builder(
            itemCount: Fruitdata.length,
            itemBuilder: (context,index){
              return Card(
                child: ListTile(
                  title: Text(Fruitdata[index].name),
                  leading: SizedBox(
                    width: 50,
                    height: 50,
                    child: Image.network(Fruitdata[index].ImageUrl),
                  ),
                  onTap: (){
                    Navigator.of(context).push(MaterialPageRoute(builder: (context)=>FruitDetail(index: index,fruitDataModel: Fruitdata,)));
                  },
                ),
              );
            }
        )
    );
  }
}

The Below Video is only to learn how to pass data selected from listview item to next page.


