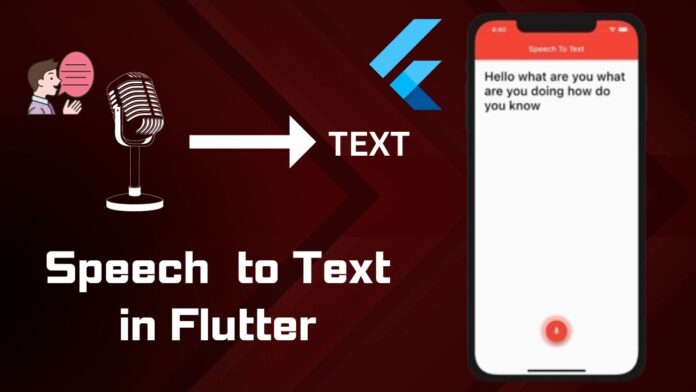
Hi Guy’s Welcome to Proto Coders Point, In this Flutter Tutorial will learn how to empower your flutter application with Speech Recognition feature using which user can convert his speak in to text in your flutter application.
Video Tutorial
Speech to Text in Flutter
Giving a feature like Speech to Text in flutter gives a ability to users to easily interact with application by just their voice.
To achieve this we are going to making use of a flutter package called speech_to_text .
Steps to Implement Speech to Text in Flutter App
1. Create A Flutter Project
In your favorite IDE Start by creating a new Flutter Project by using below command if you are using VSCode
flutter create project_name
Skip this step if you want to integrated Speech to text in existing project, Simple Open the Flutter project where to want to add this feature.
2. Add following flutter depencencies in pubspec.yaml file
Open pubspec.yaml and under depencencies: section add the following line
dependencies:
  speech_to_text:
Then hit below command in terminal
flutter pub get
This will download the speech_to_text package into your flutter project as external library.
To use it simple import it where required example in your flutter project main.dart file.
3. Adding Necessary permission
Android:
In Android module of flutter project open AndroidManifest.xml file and add below permission
Flutter Project > android > app > src > main > AndroidManifest.xml
<uses-permission android:name="android.permission.RECORD_AUDIO"/>
Then to make this package work, We need to have minSdkVersion: 24 and targetSdkVersion: 32. To update it goto build.gradle file
Flutter Project > android > app > build.gradle
iOS:
Same in iOS also we need to permission to access iPhone or iPad device microphone.
Open Podfile, and look for flutter_additional_ios_build_settings(target) and below code in it.
target.build_configurations.each do |config|
     config.build_settings['GCC_PREPROCESSOR_DEFINITIONS'] || = [
     '$(inherited)',
     # dart: PermissionGroup.microphone
     `PERMISSION_MICROPHONE=1`,
]
end
Then open Info.plist and inside <dict> </dict> block, add below lines
Flutter Project > ios > Runner > Info.plist
<key> NSMicrophoneUsageDescription </key>
<string> microphone </string>
Flutter initState ask user mic permission
Now we need to add user permission to grant access to use Microphone immediately as our flutter app launch.
SpeechToText speechToText = SpeechToText();
The initState() method is overridden to call CheckMic() method and initialize the microphone availabilty.
@override
  void initState() {
    // TODO: implement initState
    super.initState();
    checkMic();

  }
void checkMic() async{
    bool micAvailable = await speechToText.initialize();

    if(micAvailable){
      print("MicroPhone Available");
    }else{
      print("User Denied the use of speech micro");
    }
  }
Flutter Speech listener
SpeechToText speechToText = SpeechToText();
speechToText.listen(
        listenFor: Duration(seconds: 20),
        onResult: (result){
        setState(() {
                   textSpeech = result.recognizedWords;
                    isListening = false;
             });
         }
  );
The above code makes use of listen() method that comes in speech_to_text package and start the recording.
Here we have 2 properties listenFor: Specifies the duration the mic to listen to the speech, then the recording speech is stored in onResult result parameter which we can used as result.recognizedWords to convert the speech to text in flutter.
Complete Source – Flutter Speech to Text
main.dart
import 'package:flutter/material.dart';
import 'package:speech_to_text/speech_to_text.dart';
import 'package:speech_to_text/speech_to_text_provider.dart';

void main() {
  runApp(const MyApp());
}

class MyApp extends StatelessWidget {
  const MyApp({super.key});

  // This widget is the root of your application.
  @override
  Widget build(BuildContext context) {
    return MaterialApp(
      title: 'Flutter Demo',
      debugShowCheckedModeBanner: false,
      theme: ThemeData(

        colorScheme: ColorScheme.fromSeed(seedColor: Colors.deepPurple),
        useMaterial3: true,
      ),
      home: const MyHomePage(),
    );
  }
}

class MyHomePage extends StatefulWidget {
  const MyHomePage({super.key});

  @override
  State<MyHomePage> createState() => _MyHomePageState();
}

class _MyHomePageState extends State<MyHomePage> {

  var textSpeech = "CLICK ON MIC TO RECORD";
  SpeechToText speechToText = SpeechToText();
  var isListening = false;

  void checkMic() async{
    bool micAvailable = await speechToText.initialize();

    if(micAvailable){
      print("MicroPhone Available");
    }else{
      print("User Denied th use of speech micro");
    }
  }


  @override
  void initState() {
    // TODO: implement initState
    super.initState();
    checkMic();

  }
  @override
  Widget build(BuildContext context) {
    return Scaffold(
      body: Center(
        child: SingleChildScrollView(
          child: Column(
            children: [
                Text(textSpeech),

                GestureDetector(
                  onTap: () async{
                    if(!isListening){
                      bool micAvailable = await speechToText.initialize();

                      if(micAvailable){
                        setState(() {
                          isListening = true;
                        });

                        speechToText.listen(
                          listenFor: Duration(seconds: 20),
                          onResult: (result){
                            setState(() {
                              textSpeech = result.recognizedWords;
                               isListening = false;
                            });
                          }
                        );


                      }
                    }else{
                        setState(() {
                          isListening = false;

                          speechToText.stop();
                        });
                    }
                  },
                  child: CircleAvatar(
                    child: isListening ? Icon(Icons.record_voice_over): Icon(Icons.mic),
                  ),
                )
            ],
          ),
        ),
      ),
    );
  }
}
Similar Tutorials
Text Recognition Using Firebase ML Kit – Text Recognition in Android


