")
What is Stripe’s role in flutter?
For smooth payment experiences in native Android and iOS apps, leverage the Stripe Flutter SDK. Will provide UI screens and components that are reliable and flexible and can be used right out of the box to collect payment from your users/customers.
The Stripe payment gateway is used by millions of businesses, including Shopify and some of our largest online companies like Amazon, Google, and others. They provide a simple and efficient way for businesses and their clients all over the world to receive and transfer payments. They also offer further services like making invoices, managing recurring payments, delivering diagrammatic and intelligent financial reports, among others.

Flutter Stripe Example
Use of the Stripe ?
Anywhere in the globe, you may process payments and pay out merchants with the use of Stripe’s tools and programmable APIs. With Stripe, platforms and marketplaces can simply handle their payment processing while still adhering to compliance standards, from confirming the legitimacy of your merchants to managing payments.
Stripe SDK
Using the Stripe SDK, you can quickly build a payment flow in your Android app. They provide UI components that are reliable and flexible so you can start collecting payment information from your users straight away. We also make the low-level APIs that support those UIs public so you may design completely original experiences.
This API tour includes important information to help you comprehend the APIs, such as the fundamental concepts that underlie all of our APIs. the path that a successful payment takes.
Stripe payment Features
Simplified Security: Stripe make it easy for you to acquire PCI compliant sensitive data, such credit card numbers, and do so while still being secure. This indicates that instead of going through your server, the sensitive data is transferred straight to Stripe.
Apple Pay: offer a seamless Apple Pay connection.
Payment options: Adding extra payment options will increase your company’s global reach and checkout conversion.
SCA-Ready: To meet with Strong Customer Authentication regulations in Europe, the SDK is SCA-Ready and automatically conducts native 3D Secure authentication when necessary.
Native User Interface: On Android and iOS, we offer native panels and components for securely collecting payment information.
Setup in Stripe console
To get started, we would need to generate an API key from Stripe. To do this, A Stripe account would need to be created.
Click below link to create Stripe account :
https://dashboard.stripe.com/dashboard
Once you’ve completed that, access your dashboard.
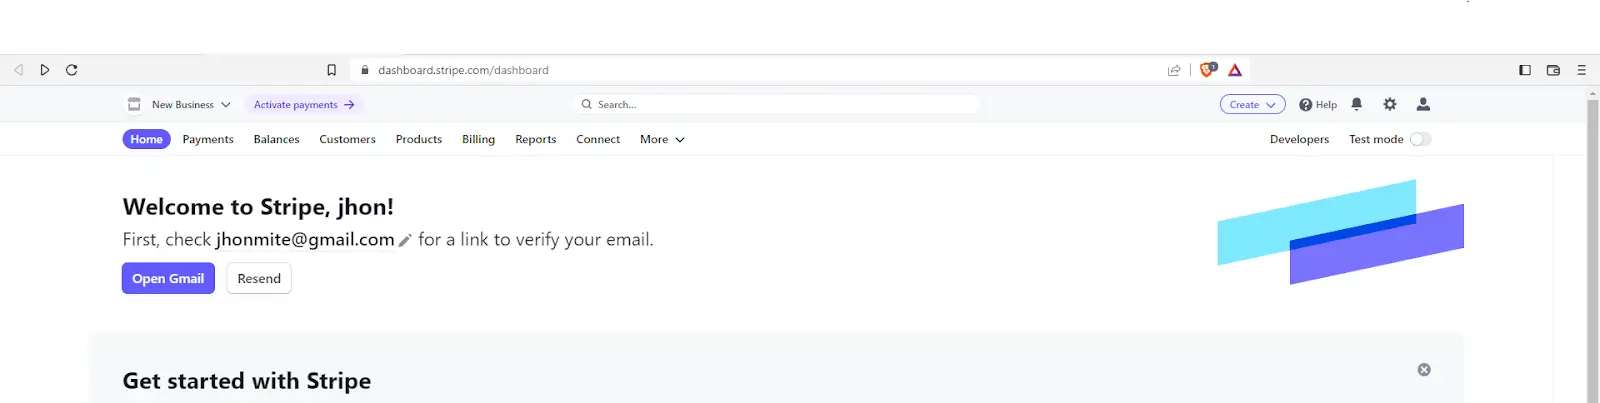
For testing and integration, switch on Test mode.
All you need to do to launch your app is follow Stripe’s instructions and switch from Test mode to Live mode on your dashboard.
then choose the API Keys option under Developers on the screen’s left side to view your Publishable and Secret API keys.
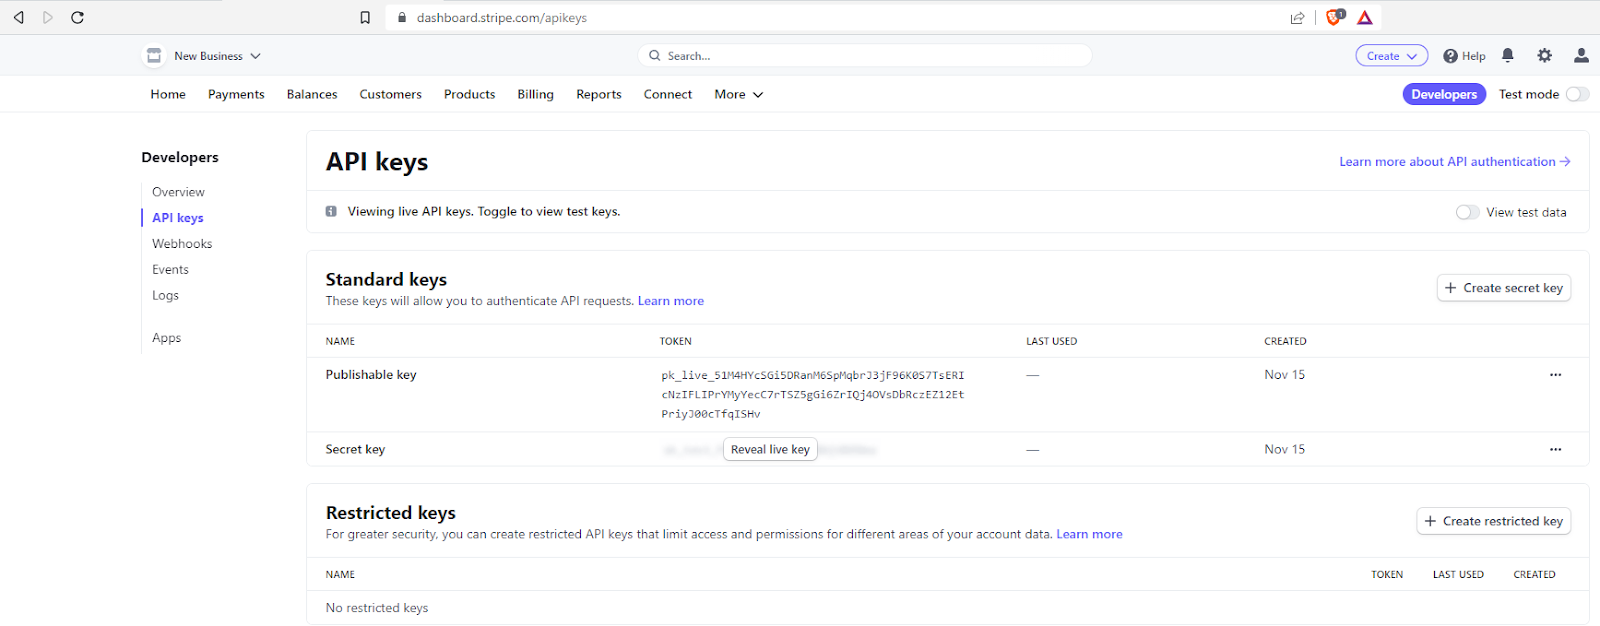
Finally You have Stripe account and API key.
Implementation Stripe in Flutter
Step 1: Your requirements should contain the following packages
flutter_stripe: ^any
http: ^any
Step 2: Import the Stripe Payment library
import 'package:stripe_payment/stripe_payment.dart';
Step 3: Run flutter packages from your app’s root directory.
Step 4: Version Minimum Requirement
In android module of flutter project minimun sdk version should be 19 & above
//Your android/app/build.gradle file needs to be modified.

minSdkVersion 19
compileSdkVersion 28
Step 5: Activate MultiDex
//Set MultiDex in the app in the build.gradle file .

android {
    compileSdkVersion 28
    defaultConfig {
        /// TODO: Specify your own unique Application ID
        applicationId "com.example.flutterAppName"
        minSdkVersion 19
        targetSdkVersion 28
        versionCode flutterVersionCode.toInteger()
        versionName flutterVersionName
        multiDexEnabled true  // add this line
    }
 }
Step 6: incorporate multidex dependencies
dependencies {
    Implementation
     "org.jetbrains.kotlin:kotlin-stdlib-jdk7:$kotlin_version"
    implementation 'com.android.support:multidex:1.0.3'
}
Step 7: Activate Android X
Add this to your gradle.properties file :

org.gradle.jvmargs=-Xmx1536M
android.enableR8=true
android.useAndroidX=true
android.enableJetifier=true
Step 8: Change Theme.Appcompat in style.xml file (android/app/src/main/res/values/styles.xml).
<?xml version="1.0" encoding="utf-8"?>
<resources>
   <!-- Theme applied to the Android Window while the process is starting when the OS's Dark Mode setting is off -->
   <style name="LaunchTheme" parent="@android:style/Theme.Light.NoTitleBar">
       <!-- Show a splash screen on the activity. Automatically removed when
            the Flutter engine draws its first frame -->
       <item name="android:windowBackground">@drawable/launch_background</item>
   </style>
   <!-- Theme applied to the Android Window as soon as the process has started.
        This theme determines the color of the Android Window while your
        Flutter UI initializes, as well as behind your Flutter UI while its
        running.

        This Theme is only used starting with V2 of Flutter's Android embedding. -->
   <style name="NormalTheme" parent="@android:style/Theme.Light.NoTitleBar">
       <item name="android:windowBackground">?android:colorBackground</item>
   </style>
</resources>
Step 9: Using FlutterFragmentActivity instead of FlutterActivity in MainActivity.kt
(android/app/src/main/kotlin/com/example/appname/MainActivity.kt)
package com.flutter.stripe.example  //your package name

import io.flutter.embedding.android.FlutterActivity
import io.flutter.embedding.android.FlutterFragmentActivity

class MainActivity: FlutterFragmentActivity() {}
flutter_stripe: We will utilize the flutter stripe package since it spares us the burden of having to design our own payment modal by providing us with a beautiful one that already has all the information and customization we need. Additionally, it includes dark mode and allows you to scan your card to access it’s information. Visit their instructions here to set up the additional configurations required for the flutter stripe package on Android.
http : We’ll be using http to connect with the Stripe API; if you’d like, you may use dio or any other package to handle your API requests instead.
Code implement
Create a dart filename HomePage.dart with a payment button that opens the payment modal.
This is how we handling payments:
 Future<void> openPaymentSheetWidget() async {
   try {
     paymentIntentData = await callPaymentIntentApi('200', 'INR');
     await Stripe.instance
         .initPaymentSheet(
       paymentSheetParameters: SetupPaymentSheetParameters(
         appearance: PaymentSheetAppearance(
           primaryButton: const PaymentSheetPrimaryButtonAppearance(
             colors: PaymentSheetPrimaryButtonTheme(
               light: PaymentSheetPrimaryButtonThemeColors(
                 background: Colors.blue,
               ),
             ),
           ),
           colors: PaymentSheetAppearanceColors(background: blueShade50),
         ),
         paymentIntentClientSecret: paymentIntentData!['client_secret'],
         style: ThemeMode.system,
         merchantDisplayName: 'Merchant Display Name',
       ),
     )
         .then((value) {
       showPaymentSheetWidget();
     });
   } catch (exe, s) {
     debugPrint('Exception:$exe$s');
   }
 }
Now, let’s implement this step for stripe integration
Step 1) : Create Payment Intent
To begin, we define a function called makingPaymentIntentApi that accepts the currency and payment amount.
makingPaymentDataIntentApi(String amount, String currency) async {
   try {
     Map<String, dynamic> body = {
       'amount': calculateAmount(amount),
       'currency': currency,
       'payment_method_types[]': 'card'
     };
     debugPrint("Body : $body");
     var response = await http.post(
         Uri.parse('https://api.stripe.com/v1/payment_intents'),
         body: body,
         headers: {
           'Authorization': 'Add_Your_Authorization_Token_Here',
           'Content-Type': 'application/x-www-form-urlencoded'
         });
     return jsonDecode(response.body);
   } catch (err) {
     debugPrint('callPaymentIntentApi Exception: ${err.toString()}');
   }
 }
In order to keep the value of the amount when it is converted to a double by flutter stripe, we make a post request to Stripe with a body that contains the currency we are paying in and the amount multiplied by 100. Stripe replies by returning a payment intent. This will serve as the initialization for our payment sheet in STEP 2).
Step 2) : Initialise the payment sheet
A payment sheet is started. The payment sheet modal, where we will input our card information and make a payment, will be created using this.
The client secret we acquired from the payment intent in the previous step is what we enter here. Several settings are available to you, including style, which enables us to choose the dark theme.
Step 3) : show Payment Sheet
This step is show the payment sheet
showPaymentSheetWidget() async {
   try {
     await Stripe.instance.presentPaymentSheet(
         // ignore: deprecated_member_use
         parameters: PresentPaymentSheetParameters(
       clientSecret: paymentIntentData!['client_secret'],
       confirmPayment: true,
     ));
     setState(() {
       paymentIntentData = null;
     });
     ScaffoldMessenger.of(context).showSnackBar(const SnackBar(
         backgroundColor: Colors.blue,
         content: Text(
           "Payment Successfully Completed ",
           style: TextStyle(color: Colors.white),
         )));
   } on StripeException catch (e) {
     debugPrint('StripeException:  $e');
     showDialog(
         context: context,
         builder: (_) => const AlertDialog(
               content: Text("Get Stripe Exception"),
             ));
   } catch (e) {
     debugPrint('$e');
   }
 }
The integration of Stripe into your Flutter application is complete.
Now, run your code and get output.
Github code link for reference:
https://github.com/kevalv001/deep_link_app.git
flutter_stripe package used in this application, for this contribution. In this article , I have explained the basic architecture of stripe payment integration in flutter. You can change this code according to your choice, and this was a small introduction of stripe payment.
Thank you !! Have a fun …..
")


