
")


Hi Guys, Welcome to Proto Coders Point in this post we are going to Implement Firebase In-app Messaging services.
What is Firebase In-app Messaging Service?
Firebase In-App Messaging is a service that helps you to engage your apps active users i.e by sending In-app messages to your targeted users.
You can customize messages as cards, banners, modals, or images, and set up triggers so that they appear exactly when they’d benefit your users most.
So, Now Let’s Start Implementing Firebase In-App Messaging in android Studio
Follow Video Tutorial
Follow the Steps to Integrate Firebase Messaging Services
Step 1: Create a new Project
Open your android studio and Create a new Project.
if you already have Project and want to integrate Firebase In-App Messaging then jump to Step no 3.
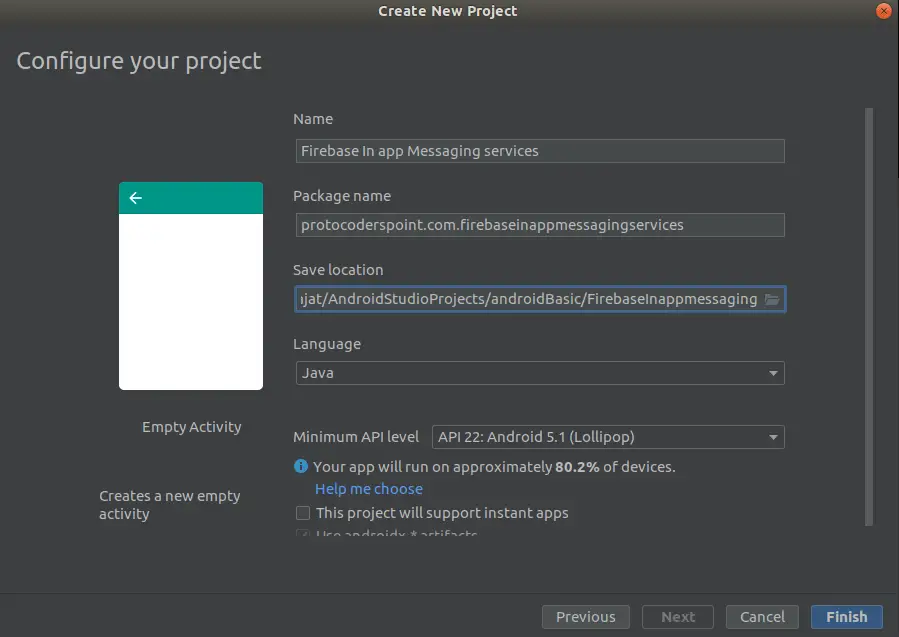
Then, Click on Finish, your new Android Project will get created, and BUILD the Project SUCCESSFUL any take some time depending on you system speed.
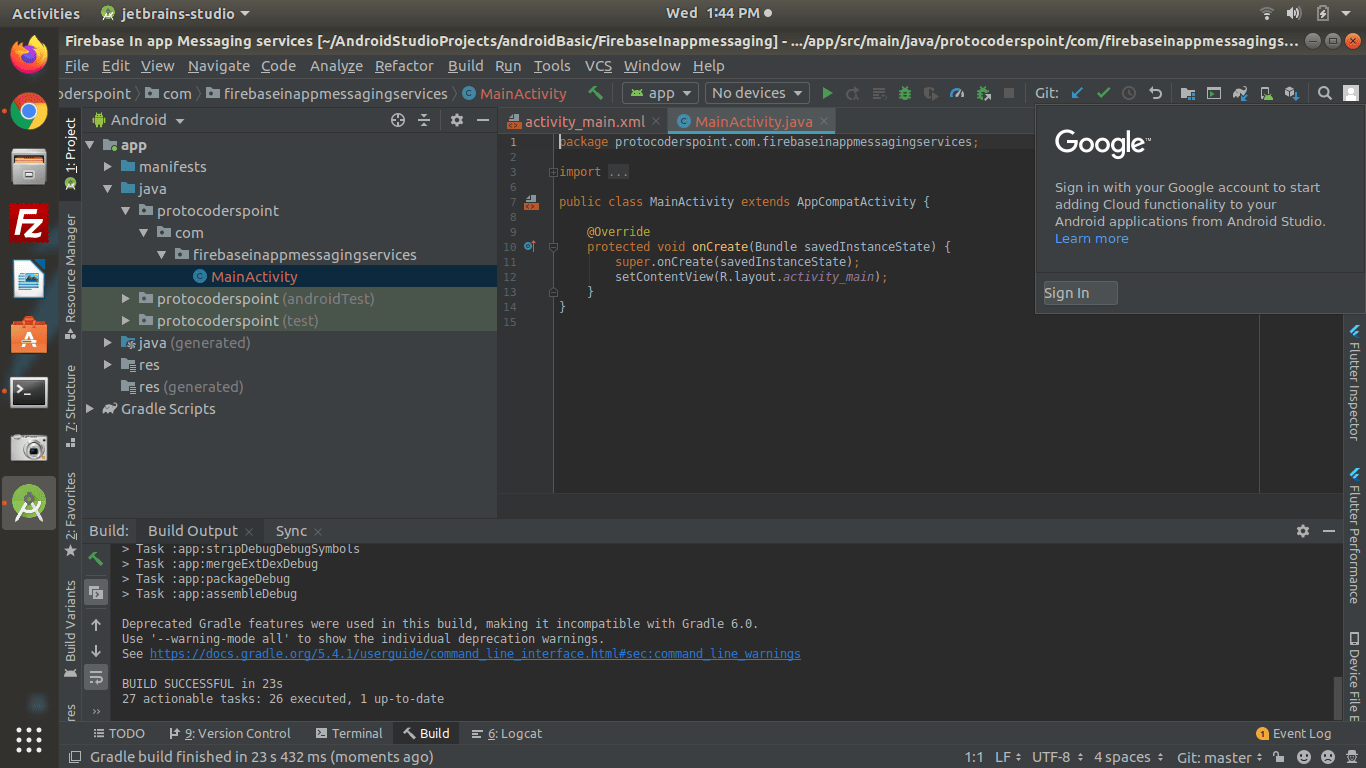
Step 2 : Sign-In with Gmail account in android-studio
Then, Navigate towords top right corner of android studio window, you will see a small login profile icon.
Android Studio wants to access your google account.
Allow the Access permission from android studio to get sign-in.
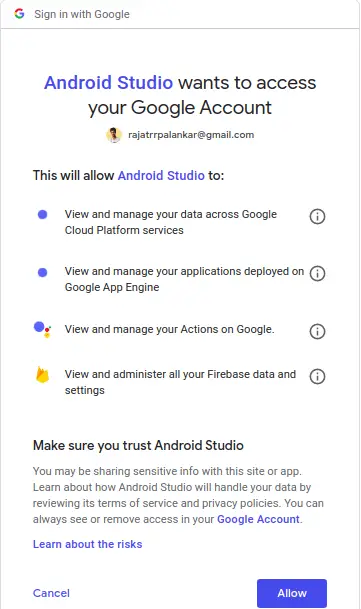
Now, you are done with sign-in process.
Step 3 : Connecting Firebase to your android Project with In-App Messaging
Then, you need to Connect Firebase into your android project
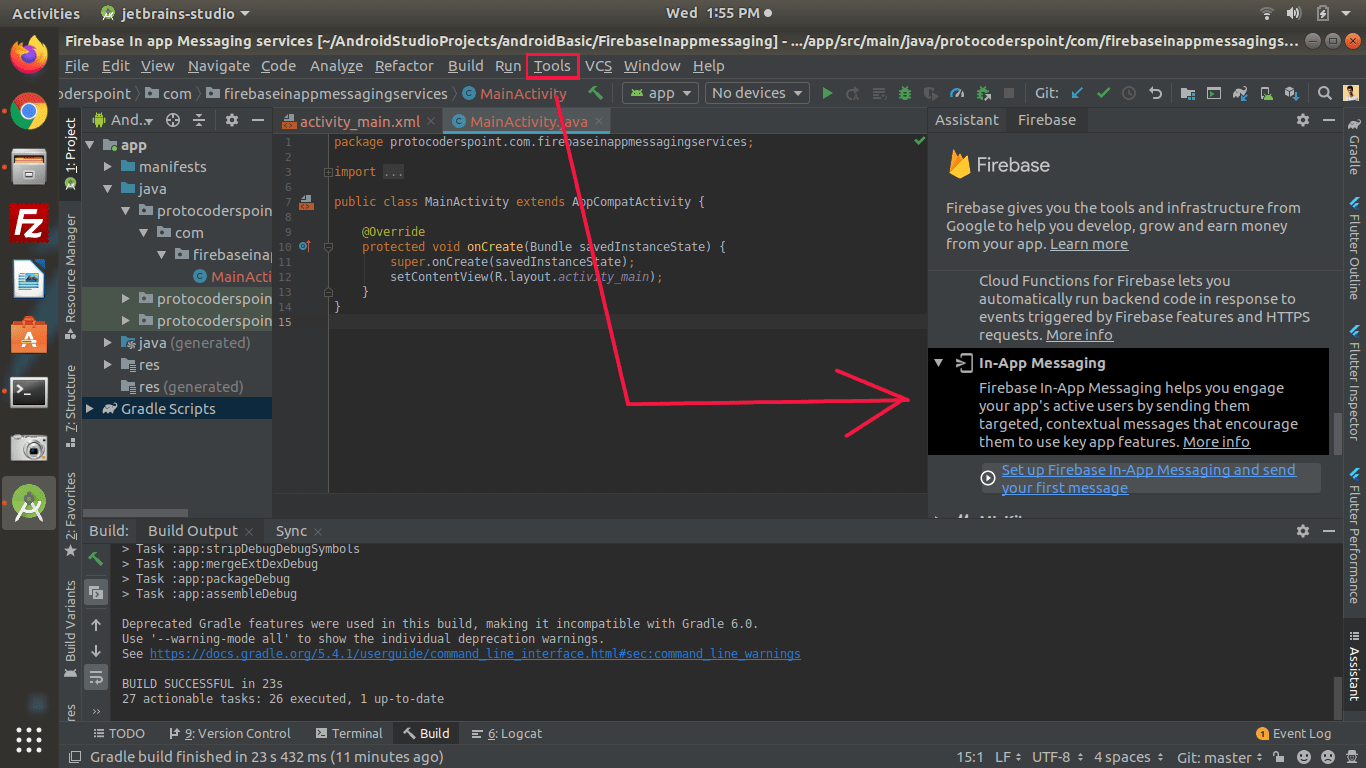
So, Go to the toolbar on the top of android studio window
ToolBar > Tools > Firebase
you will now get this Window opened by android studio Assistant
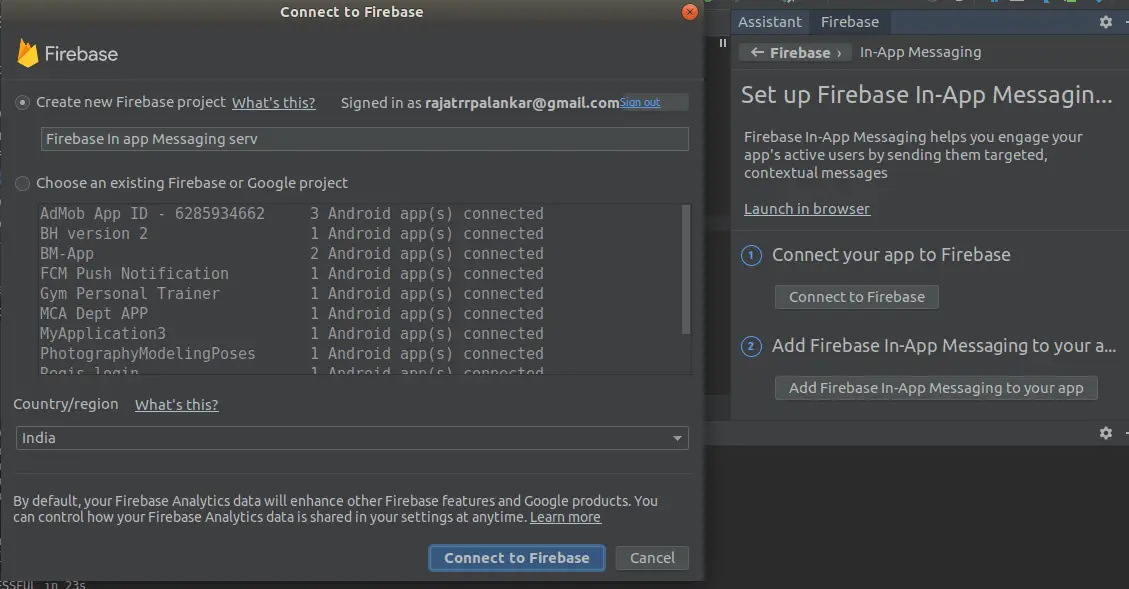
Connect to Firebase
Add In-app Firebase dependencies in your android project
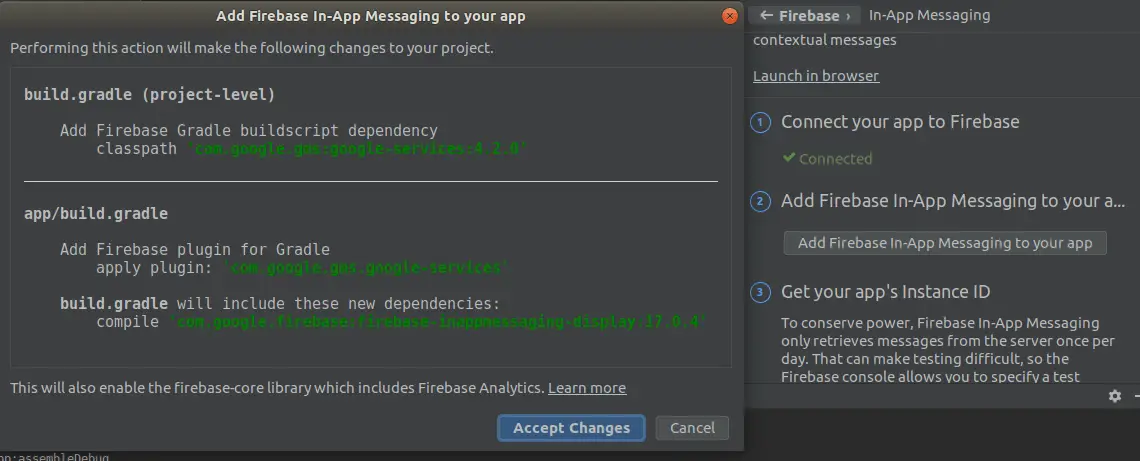
Then, it’s all set app is now ready to run and display Firebase In – App messaging.
Step 4: Add Internet Uses permission under android_manifest.xml
Don’t Forget to Add user-permission ( internet ) in manifest file
<uses-permission android:name="android.permission.INTERNET"/>
Step 5 : Create Firebase In-App Messaging Campaign in the Firebase Console
Now, Go to Your Firebase Console and create a Campaign to show Free In-app Messages.
Firebase Console > Right sidebar GROW > Select In-app Messaging > Create your first Campaign
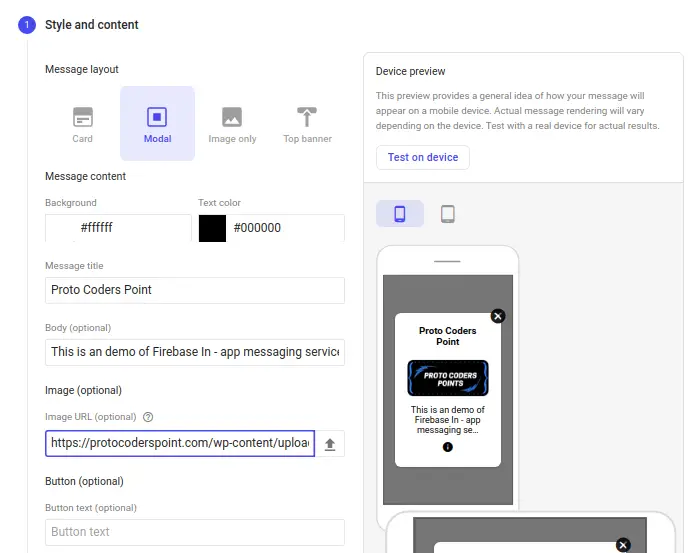
Here you will find a option to Test on Device where you can easily run on your test device for testing purpose
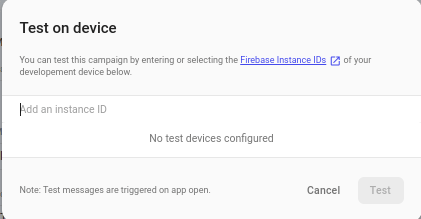
Then, To get Instance Id you need to run the project in physical device or emulater device so that firebase can generate a Instance ID for testing purpose.
Now, your app is been build successfully and is running on the device.
Navigate to Logcat at the bottom of Android Studio and search for ” Instance “, you will get the instance ID generated by firebase for texting, The instanse ID will look something like this :
I/FIAM.Headless: Starting InAppMessaging runtime with Instance ID " esfS9Au1vYw "
Then, Copy the Instance ID and paste it into Firebase console test on device.
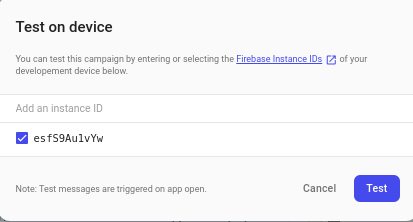
and then , Hit the Test button.
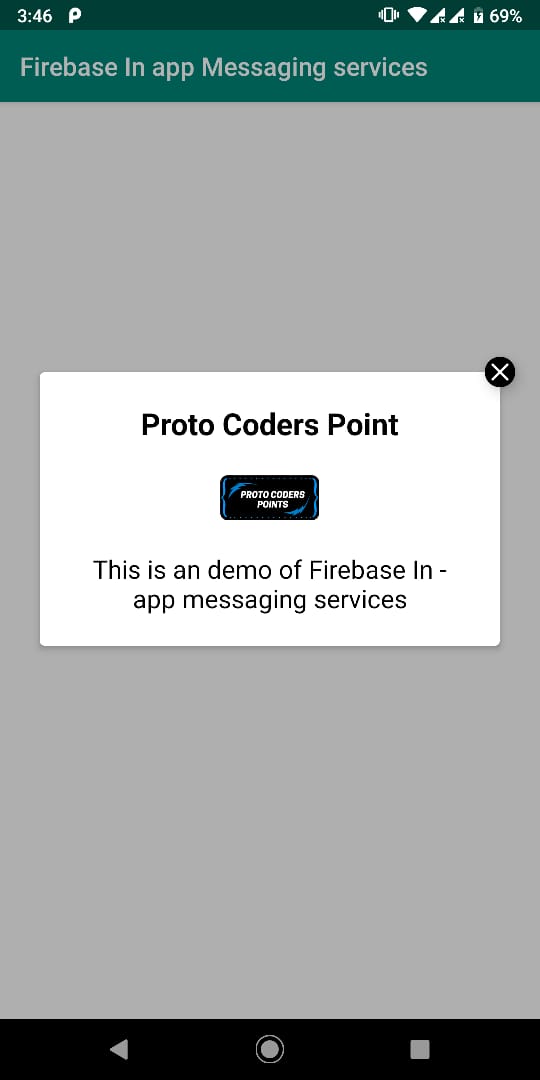
after that close the app if running and re-open the app.
Now, you will be able to see Firebase In-app Message been poped up as below.
Learn how to send Push notification using Firebase Cloud Messaging
")


