
In this article, we’ll go over how to use face recognition and Touch ID for biometric authentication in Flutter applications.
To achieve this, we’ll make use of a plugin created by the Flutter team called local auth. The ability to perform local, on-device user authentication is made available by this plugin. With the plugin, we will integrate fingerprint and facial recognition for local authentication in our Flutter applications.
Why is touchID or FaceID authentication necessary?
If you don’t take the necessary steps to protect your information from risk, hackers can easily access the data on your mobile phone. using security measures like Touch ID or Face ID on your phone, or keeping a passcode.
In this flutter tutorial, I’ll show you how to use the flutter local auth plugin to add Touch ID and Face ID authentication capabilities and make a secure flutter application.
In this tutorial, we’ll discuss:
- Defining biometric authentication
- How to use the local auth plugin
- Making a Flutter app use biometric authentication
- modifying the app’s permissions
What exactly is biometric verification?
Authentication is a technique for conclusively proving that a person is who they claim to be. This verification is carried out using biometric authentication, which examines distinctive biological or behavioral traits.
Set Up the Flutter project to implement local_auth
Step 1: new flutter project creation
$ flutter create app_name
Step 2: For this project, the following plugins are required:
Plugins: Add dependencies to pubspec.yaml file.
Local_auth : ^_._._
Step 3: Import file
import 'package:local_auth/local_auth.dart';
The local auth plugin must then be added to our project as a dependency. To obtain and install the local auth plugin in your project, run the commands below in your terminal.
Step 4: Run flutter packages from your app’s root directory.
$ flutter pub get
Let’s have a look at local auth plugin
Let’s look at the main features offered by the local auth plugin before we continue with the implementation of biometric authentication in our app, which include the following:
Verify the device’s compatibility
Viewable supported biometric types are listed for user authentication using biometrics or PIN.
Two screens will make up our application:
We authenticate users, and the HomeScreen, which users can access following successful authentication.
our LocalAuthenticationService is being set up
In our implementation, we will first determine whether the device supports biometric authentication before restricting the user to only using biometrics as a form of identification. After successful authentication, we will then give the user access to the following screen.
Make a local authentication service.dart file in our service folder and add the following code to it.
final isAvailable = await LocalAuthApi.hasBiometrics();
final biometrics = await LocalAuthApi.getBiometrics();

final hasFingerprint = biometrics.contains(BiometricType.fingerprint);

showDialog(
 context: context,
 builder: (context) => AlertDialog(
   title: const Text('Availability'),
   content: Column(
     crossAxisAlignment: CrossAxisAlignment.start,
     mainAxisSize: MainAxisSize.min,
     children: [
       buildText('Biometrics', isAvailable),
       const Text(
         "Tap on the button to authenticate with the device\'s local authentication system.",
       ),
       buildText('Fingerprint', hasFingerprint),
     ],
   ),
 ),
);
static Future<bool> authenticate() async {
final isAvailable = await hasBiometrics();
if (!isAvailable) return false;
try {
return await _auth.authenticateWithBiometrics(
androidAuthStrings: const AndroidAuthMessages(
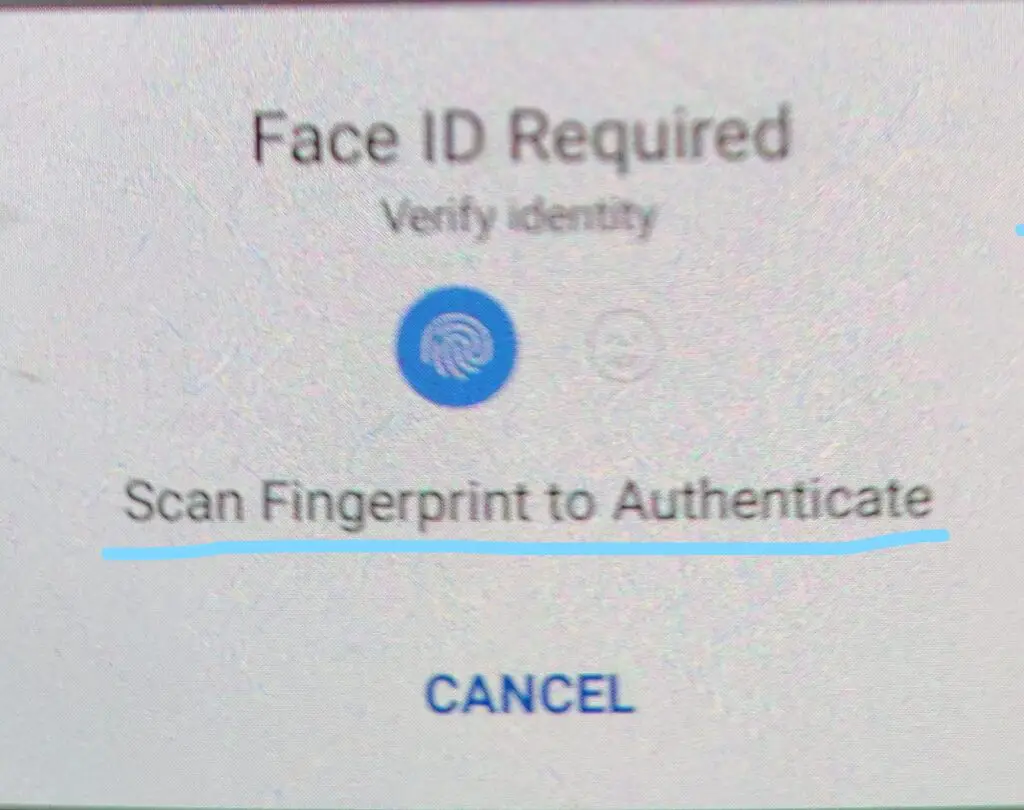
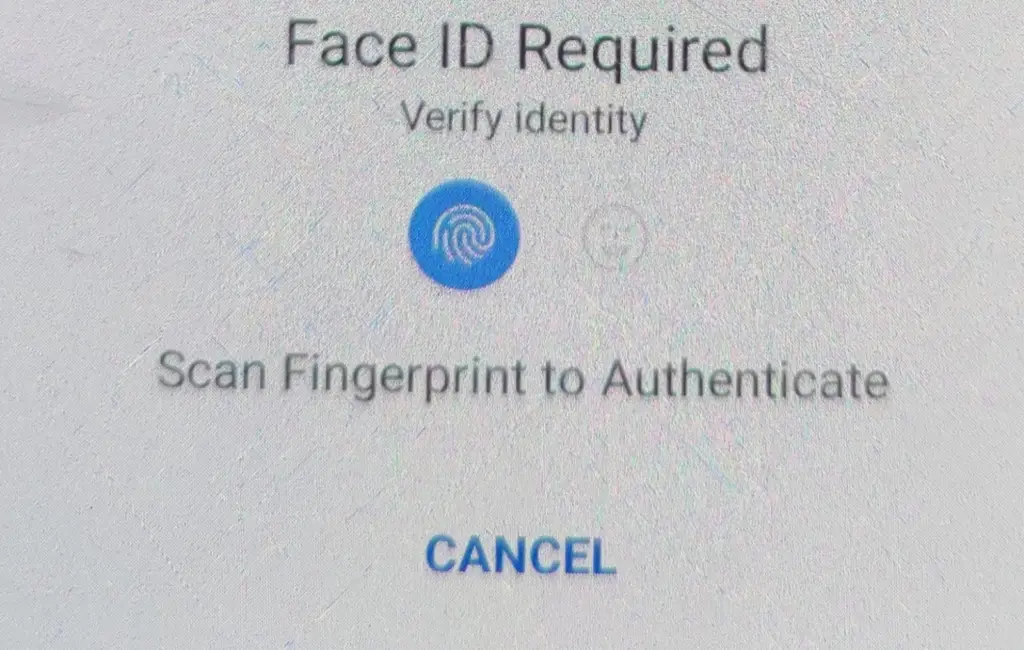
signInTitle: "Face ID Required",
),
localizedReason: 'Scan Fingerprint to Authenticate',
useErrorDialogs: true,
stickyAuth: false,
sensitiveTransaction: true);
} on PlatformException catch (e) {
return false;
}
}
Making a Flutter app use biometric authentication
In the code above, we defined the static method authenticateUser and created the class AuthService. The biometric authentication logic is handled by this method, which also returns a bool indicating whether the biometric authentication was successful or not.
As shown in the code snippet below, we now need to call the authenticateUser method in our widget’s onPressed property in the AuthPage.
Make a dart file called AuthPage.dart.
Scaffold(
     appBar: AppBar(
       backgroundColor: Colors.blue.shade900,
       title: const Text("Biometrics authentication app"),
       centerTitle: true,
     ),
     body: Padding(
       padding: const EdgeInsets.all(32),
       child: Center(
         child: Column(
           mainAxisAlignment: MainAxisAlignment.center,
           children: [
             buildAvailability(context),
             const SizedBox(height: 24),
             buildAuthenticate(context),
           ],
         ),
       ),
     ),
   )
If the authentication is successful, the user will be directed to the HomePage from the aforementioned code snippet; otherwise, a Snackbar with an error message is displayed.
Home screen
As shown in the code snippet below, the HomeScreen also includes an Icon and a Button to handle a user logging out.Make a dart file called HomePage.dart
Scaffold(
     appBar: AppBar(
       title: const Text(MyApp.title),
     ),
     body: Padding(
       padding: const EdgeInsets.all(32),
       child: Center(
         child: Column(
           mainAxisAlignment: MainAxisAlignment.center,
           children: [
             const Text(
               'Home',
               style: TextStyle(fontSize: 40),
             ),
             const SizedBox(height: 48),
             buildLogoutButton(context)
           ],
         ),
       ),
     ),
   )
discover the supported biometric types
A list of the biometric types supported by the user’s device can be obtained using the getAvailableBiometrics method offered by the local auth plugin.
static Future<List<BiometricType>> getBiometrics() async {

 try {
   return await _auth.getAvailableBiometrics();
 } on PlatformException catch (e) {
   return <BiometricType>[];
 }
}
The plugin currently supports the following biometric types:
BiometricType.face
BiometricType.fingerprint
BiometricType.iris
Use a PIN or biometrics to verify users
We use the authenticate method offered by the plugin to verify users using biometrics or PIN.
await _auth.authenticateWithBiometrics(
localizedReason : 'Scan Fingerprint to Authenticate',
)
The authenticateWithBiometrics method includes a few optional parameters that can be used to modify a few particular settings. The following are some examples:
return await _auth.authenticateWithBiometrics(
   localizedReason: 'Scan Fingerprint to Authenticate',
   useErrorDialogs: true,
   stickyAuth: false,
   sensitiveTransaction: true);
String localizedReason
The user will be presented with this message when asked to authenticate.
bool biometricOnly
Non-biometric local authentication techniques like PIN and passcode are disabled when set to true.
Note: the “USE PIN” button even when the option is set to false at that time shows the usePin option in your device.
useErrorDialogs: bool
The plugin determines whether a user fingerprint record is stored on the device when this parameter is set to true. The plugin will make an effort to direct the user to the settings so they can register a fingerprint if none already exists.
stickyAuth
Ordinarily, when an app is minimized or put in the background, the authentication process is ended. When the app is brought back into focus, the authentication process is resumed if stickyAuth is set to true.
Adding Fingerprint permission for native platform
For Android app
Add the next line of code to your AndroidManifest.xml file, which is found in the directory android/app/src/main, to include the USE FINGERPRINT permission:
<uses-permission android:name="android.permission.USE_FINGERPRINT"/>
Next, replace FlutterActivity with FlutterFragmentActivity in MainActivity.kt file
import io.flutter.embedding.android.FlutterFragmentActivity
import io.flutter.embedding.engine.FlutterEngine
import io.flutter.plugins.GeneratedPluginRegistrant

class MainActivity: FlutterFragmentActivity() {
    override fun configureFlutterEngine(flutterEngine: FlutterEngine) {
        GeneratedPluginRegistrant.registerWith(flutterEngine)
    }
}
As an alternative, if you prefer Java to Kotlin, add the following code to your MainActivity.java file:
import android.os.Bundle;
import io.flutter.app.FlutterFragmentActivity;
import io.flutter.plugins.flutter_plugin_android_lifecycle.FlutterAndroidLifecyclePlugin;
import io.flutter.plugins.localauth.LocalAuthPlugin;

public class MainActivity extends FlutterFragmentActivity {
    @Override
    protected void onCreate(Bundle savedInstanceState) {
        super.onCreate(savedInstanceState);
        FlutterAndroidLifecyclePlugin.registerWith(
                registrarFor(
                        "io.flutter.plugins.flutter_plugin_android_lifecycle.FlutterAndroidLifecyclePlugin"));
        LocalAuthPlugin.registerWith(registrarFor("io.flutter.plugins.localauth.LocalAuthPlugin"));
    }
}
Conclusion
This tutorial has taught us what biometric authentication is and how to use it in Flutter apps by using the local auth plugin. I hope you enjoyed reading it and that it was useful in helping you create a safe flutter app.In the article, I explained the basic structure of auth ; you can modify this code to suit your needs; and this was a brief introduction to implement authentication in flutter from my end, with Flutter support.
The complete source code of this project is available on GitHub , for source code click here.
https://github.com/Mitali8620/auth_demo.git
")


