
Introduction to New Relic
For developers working with app building, New Relic is an essential tool that is been used for monitoring application performance. It gives you information on how well your application is performing like metrics, Logs, Traces & Alerts, which makes it easier to find & fix problems or issues in the Application.
The steps required for implementing New Relic into your Node.js application will be guided to you in this article.
Installing the New Relic Agent in Node Project
Assuming that you already have or know how to create a NodeJS Project.
To start using New Relic in Node.js, the first step is installing the New Relic Node.js agent or the package. You can do this easily install it by using npm install command as below. In your terminal, navigate to your project directory and run the following command:
npm install newrelic --save
Running the above command will add the New Relic package to your NodeJS project.
How to get NewRelic License Key
- Sign-In into newRelic
- Select the Platform or Framework or Language, In our case NodeJS
- Create a new Key.
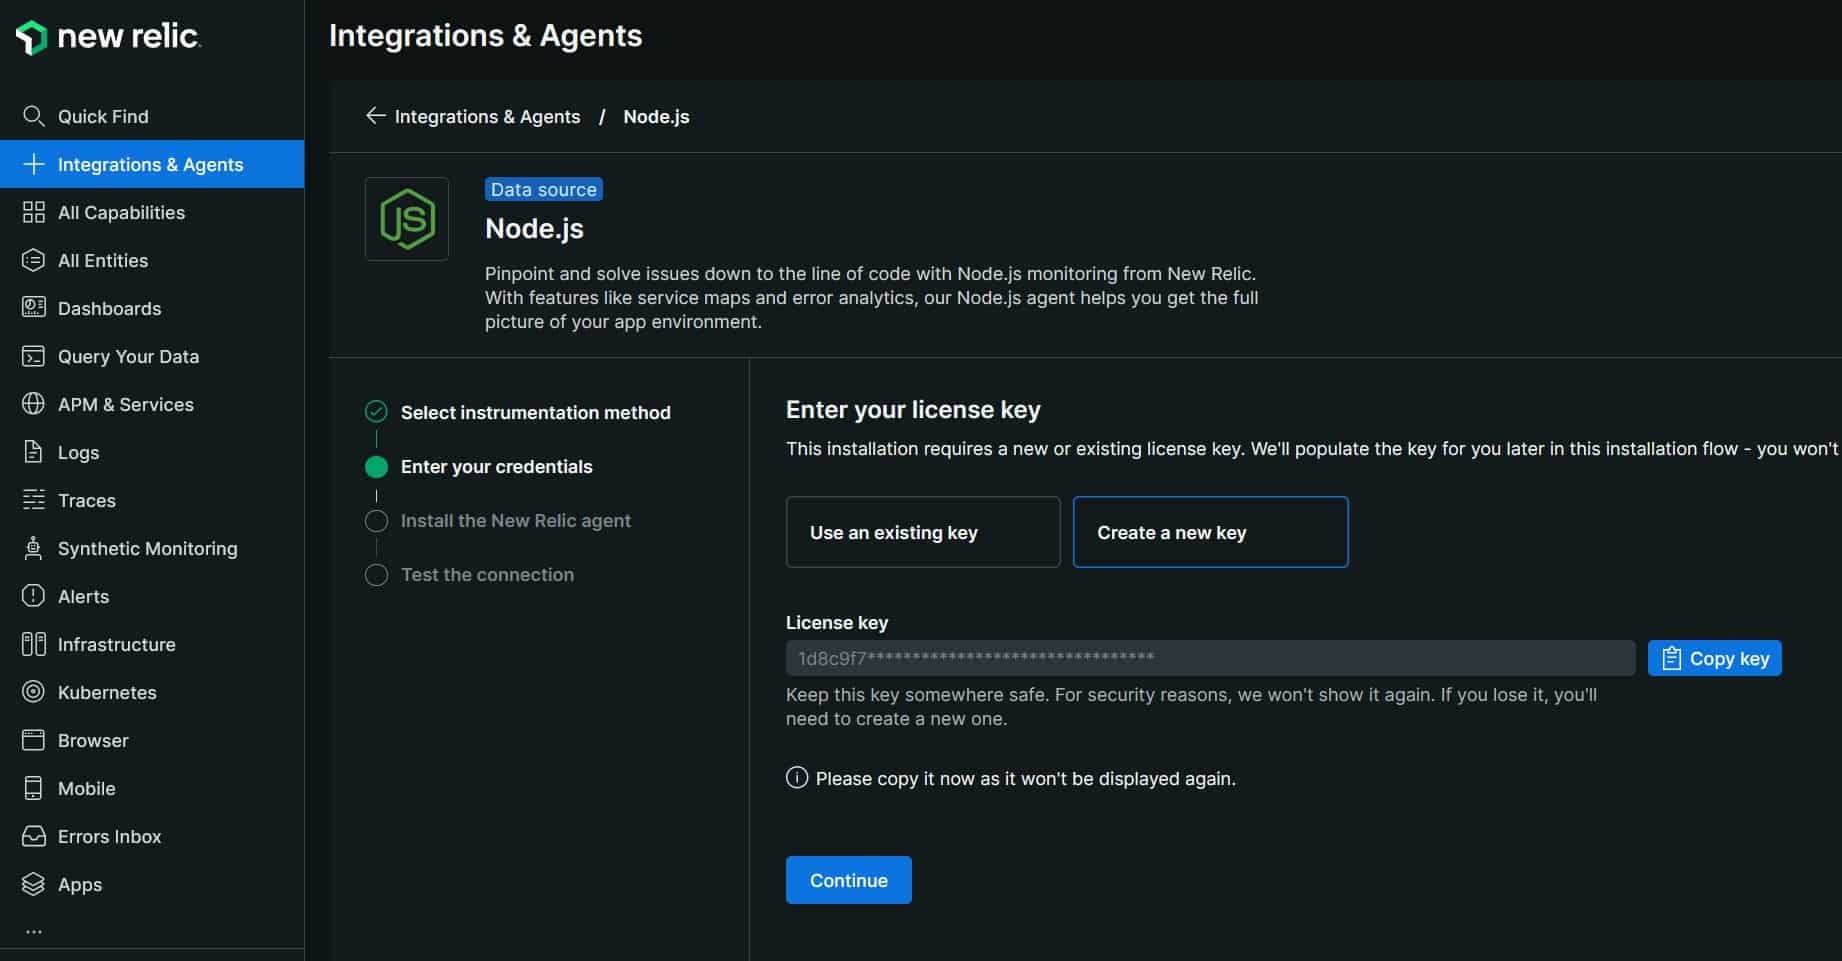
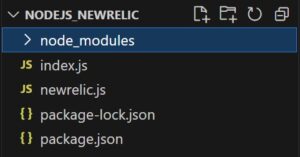
Once you have successfully installed newrelic package, we need to configure the New Relic agent. In your project, create a file named newrelic.js at the root level. In this file, you’ll need to include your New Relic license key, which you can find in your New Relic account. Please check the video for quick understanding.
Basic Configuration of newRelic
Here’s a basic configuration example in newrelic.js file:
exports.config = {
    app_name: ['Application Service Name'],  // Replace with your app name
    license_key: 'YOUR_LICENSE_KEY',  // Replace with your New Relic license key
    logging: {
      level: 'info'  // You can adjust this level based on your needs (e.g., 'debug', 'info', 'warn', 'error')
    }
  };
Import the newRelic
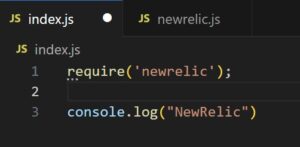
Now we need to import it at the start on our nodejs i.e. we need to ensure that this file is included at the very top of your main application file (e.g., app.js) before any other require statements.
My Project Statement
Verifying Monitoring
To confirm that the monitoring is active, start your Node.js application and look for logs indicating that New Relic is initialized. You should see an entry in your New Relic dashboard shortly after your application begins running.
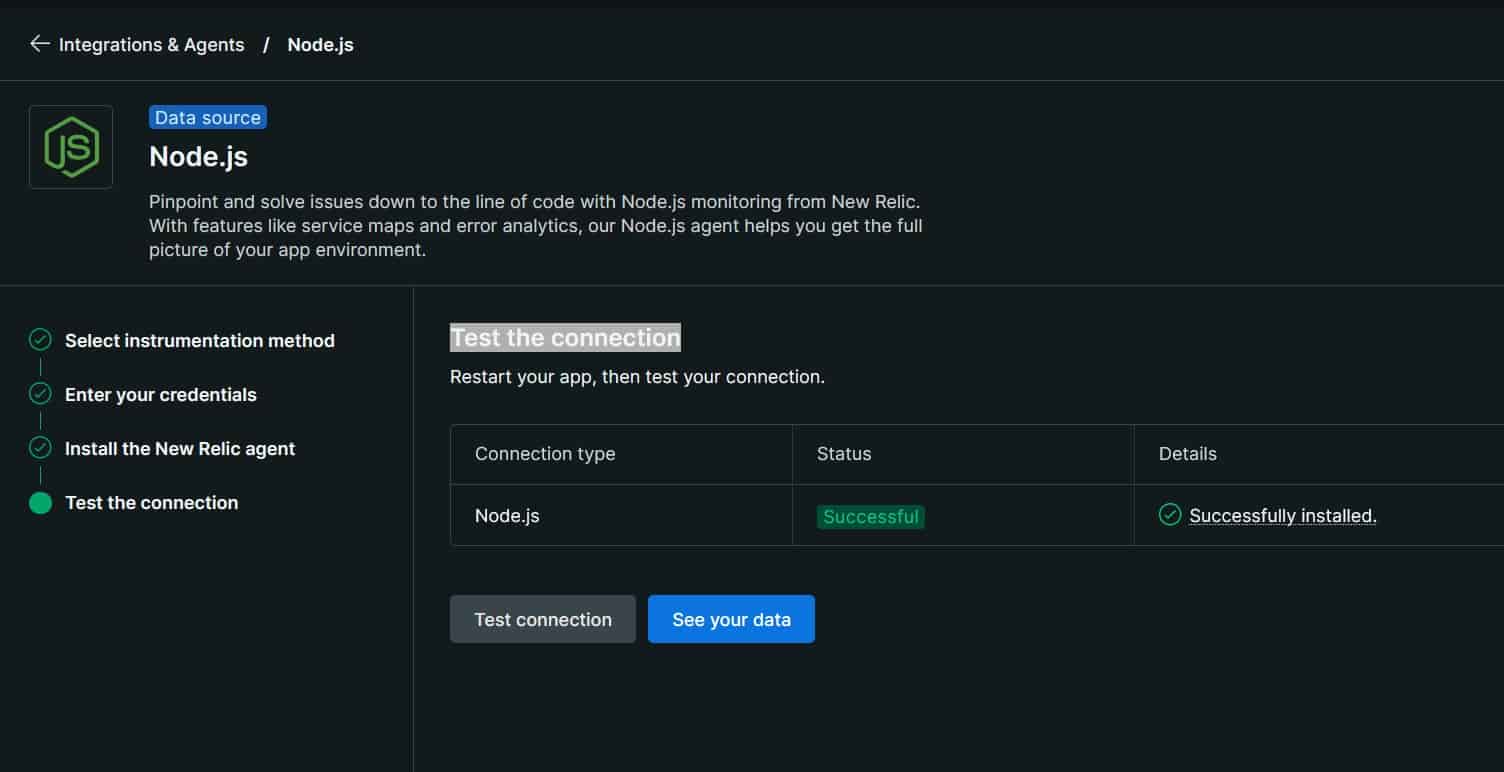
That’s it! You have successfully set up New Relic in your Node.js application.


