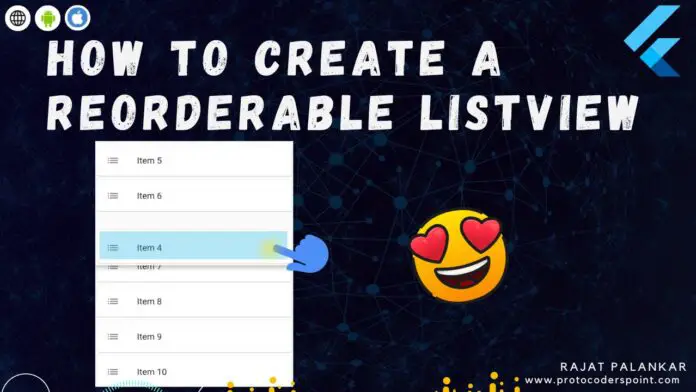
Hi Guy’s Welcome to Proto Coders Point. In this Flutter tutorial let’s learn how to implement Reorderable listview in flutter app.
What is Reorderable Listview in flutter
Basically a reorderable listview looks similar to listview, the only difference over here is that the user can interact with listview by long press on list item drag & drop to reorder the listview item as per user needs.
Example: Can be used this in developing a simple ToDo application in flutter where a user can reorder his todo list and keep priority task on top.
Video Tutorial
Flutter ReorderableListView Widget & it’s Syntax
In flutter we have a widget i.e. ReorderableListview, It has 2 main properties to be passed (children & onReorder).
and alternatively we have ReorderableListView.builder, It has 3 mandatory properties (itemBuilder, ItemCount, OnReorder). Example below.
Syntax of ReorderableListview
ReorderableListView(
        children: [
              // listview items
        ],
        onReorder: (int oldIndex, int newIndex){
              // list items reordering logic
        },
      )
Syntax of ReorderableListView.builder(….)
ReorderableListView.builder(
          itemBuilder: itemBuilder,    // widget to show in listview Eg: ListTile
          itemCount: itemCount, // number of item to generate in listview
        onReorder: (int oldIndex, int newIndex){
          // list items reordering logic
        },
  )
Reorderable ListView in Flutter – Complete Source Code
Initialize Dummy List by using list generator
final List<int> _itemList = List<int>.generate(60, (index) => index);
Example 1 – With Video Tutorial
ReorderableListView(
        onReorder: (int oldIndex, int newIndex) {
          setState(() {
            if(newIndex > oldIndex){
              newIndex -=1;
            }
            final int temp = _itemList[oldIndex];
            _itemList.removeAt(oldIndex);
            _itemList.insert(newIndex, temp);
          });
        },
        children: [
          for(int index = 0;index<_itemList.length;index++)
            ListTile(
              key:Key('$index'),
              title: Text('Item ${_itemList[index]}'),
            )
        ],
   ),
Example 2 – With Video Tutorial
ReorderableListView.builder(
          itemBuilder: (BuildContext context,int index){
            return Card(
              key: Key('${index}'),
              child: ListTile(

                title: Text('Item ${_itemList[index]}'),
              ),
            );
          },
          itemCount: _itemList.length,
          onReorder: (int oldIndex,int newIndex){
              setState(() {
                if(newIndex > oldIndex){
                  newIndex -=1;
                }
                final int tmp = _itemList[oldIndex];
                _itemList.removeAt(oldIndex);
                _itemList.insert(newIndex, tmp);
              });
      })
Example 3 – Make API Http call request & create a Reorderable Listview – Complete Code
Demo

import 'dart:convert';
import 'package:flutter/material.dart';
import 'package:http/http.dart' as http;

void main() => runApp(MyApp());

class MyApp extends StatelessWidget {

  @override
  Widget build(BuildContext context) {
    return MaterialApp(
      title: 'Flutter Demo',
      theme: ThemeData(
        primarySwatch: Colors.blue,
      ),
      home: MyHomePage(),
    );
  }
}

class MyHomePage extends StatefulWidget {
  @override
  _MyHomePageState createState() => _MyHomePageState();
}

class _MyHomePageState extends State<MyHomePage> {

  var jsonList;

  @override
  void initState() {
    // TODO: implement initState
    super.initState();
    getData();
  }

  void getData() async{

    http.Response response = await http.get(Uri.parse("https://protocoderspoint.com/jsondata/superheros.json"));
    if(response.statusCode == 200){
       setState(() {
           var newData = json.decode(response.body);
           jsonList = newData['superheros'] as List;
       });
    }else{
      print(response.statusCode);
    }
  }


  @override
  Widget build(BuildContext context) {
    return Scaffold(
      appBar: AppBar(
        title: Text("Flutter Reorderable Listview"),
      ),
      body: ReorderableListView.builder(
          itemBuilder: (BuildContext context,int index){
            return Card(
              key: Key('${index}'),
              child: ListTile(
                leading: ClipRRect(
                  borderRadius: BorderRadius.circular(80),
                    child: Image.network(
                        jsonList[index]['url'],
                      fit: BoxFit.fill,
                      width: 50,
                      height: 100,
                    )
                ),
                title: Text(jsonList[index]['name']),
                subtitle: Text(jsonList[index]['power'],maxLines: 4,),
              ),
            );
          },
          itemCount: jsonList == null ? 0 : jsonList.length,
          onReorder: (int oldIndex,int newIndex){
            setState(() {
              if(newIndex > oldIndex){
                newIndex -=1;
              }
              final tmp = jsonList[oldIndex];
              jsonList.removeAt(oldIndex);
              jsonList.insert(newIndex, tmp);
            });
          })
    );
  }
}


