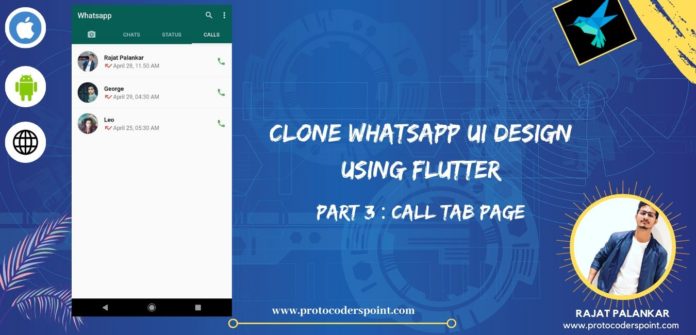
Hi Guys, Welcome to Proto Coders Point, This is PART 3 of WhatsApp Clone UI using Flutter, In this part we will continue with cloning design for Call Tab Page of WhatsApp.
If you have not gone through the previous part of WhatsApp UI Clone using Flutter, Then make sure to go through it.
Chat Page Part 1 : WhatsApp Clone
Status Part 2 : WhatsApp Clone
Then, Fine let’s Start with 3rd Tab Page which is WhatsApp Calls
Step 1: Create a data model for Calls data to be shown in WhatsApp CALL Page
Under DataModels package.
Create a new dart file and name it as Call_Models.dart and paste the below dummy class calls data list.
Call_Models.dart
import 'package:flutter/cupertino.dart';
import 'package:flutter/material.dart';

class Call_Models {
  final String name;
  final String datetime;
  final Widget callicon;
  final String profilepic;

  Call_Models({this.name, this.datetime, this.callicon, this.profilepic});
}

List<Call_Models> call_dummy_data = [
  new Call_Models(
      name: "Rajat Palankar",
      datetime: "April 28, 11.50 AM",
      callicon: Icon(
        Icons.call_missed,
        color: Colors.red,
      ),
      profilepic:
          "https://pbs.twimg.com/profile_images/1243950916362895361/Z__-CJxz_400x400.jpg"),
  new Call_Models(
      name: "George",
      datetime: "April 29, 04:30 AM",
      callicon: Icon(
        Icons.call_missed,
        color: Colors.red,
      ),
      profilepic:
          "https://cdn.pixabay.com/photo/2015/06/22/08/40/child-817373__340.jpg"),
  new Call_Models(
      name: "Leo",
      datetime: "April 25, 05:30 AM",
      callicon: Icon(
        Icons.call_missed,
        color: Colors.red,
      ),
      profilepic:
          "https://cdn.pixabay.com/photo/2016/11/29/02/28/attractive-1866858__340.jpg"),
];
In the above Calls Model data class i have simple created a dummy data list of calls records.
Step 2: Designing call page and showing the calls data in list format
Open CallsScreen.dart and paste the below lines of flutter code
import 'package:flutter/cupertino.dart';
import 'package:flutter/material.dart';
import 'package:flutterwhatsappclone/DataModels/Call_Models.dart';

class CallsScreen extends StatefulWidget {
  @override
  _CallsScreenState createState() => _CallsScreenState();
}

class _CallsScreenState extends State<CallsScreen> {
  @override
  Widget build(BuildContext context) {
    return ListView.builder(
      itemCount: call_dummy_data.length,
      itemBuilder: (context, index) => Column(
        children: <Widget>[
          Divider(
            height: 10.0,
          ),
          ListTile(
            leading: CircleAvatar(
              radius: 27,
              foregroundColor: Theme.of(context).primaryColor,
              backgroundColor: Colors.grey,
              backgroundImage: NetworkImage(call_dummy_data[index].profilepic),
            ),
            title: Text(
              call_dummy_data[index].name,
              style: TextStyle(fontWeight: FontWeight.bold, fontSize: 16),
            ),
            subtitle: Row(
              mainAxisAlignment: MainAxisAlignment.start,
              children: <Widget>[
                call_dummy_data[index].callicon,
                Text(
                  call_dummy_data[index].datetime,
                  style: TextStyle(fontSize: 15),
                )
              ],
            ),
            trailing: Icon(
              Icons.call,
              color: Colors.green,
            ),
          )
        ],
      ),
    );
  }
}
Here i am making use of ListView.Builder Widget with ListTile as itemBuilder to show our dummy data in list format to the WhatApp Clone Users.
That’s all for PART 3, your Flutter App with Whatsapp UI is ready.


