
Hi Guys, Welcome to Proto Coders Point. In this Article we will checkout how to connect to amazon EC2 instance server using winSCP.
check out how to create aws server.
Connecting to AWS server instance
To establish connection to AWS server we need 2 software to be installed in our system.
- Putty – puttyGen – Will use it to convert file .pem to .ppk
- WinSCP – will use to get connected to aws server.
Make sure, both the software are installed.
Video Tutorial
start watching for time 4:00 if you have already created amazon compute instance.
How to Connect to AWS server using winSCP
firstly, you need to convert .pem file to .ppk.
“note: .pem file will be provided to you when you create AWS Instance”
Secondly, connect to server using winscp.
Step 1: convert pem to ppk
.pem to .ppk can easily be converted by using putty generate.
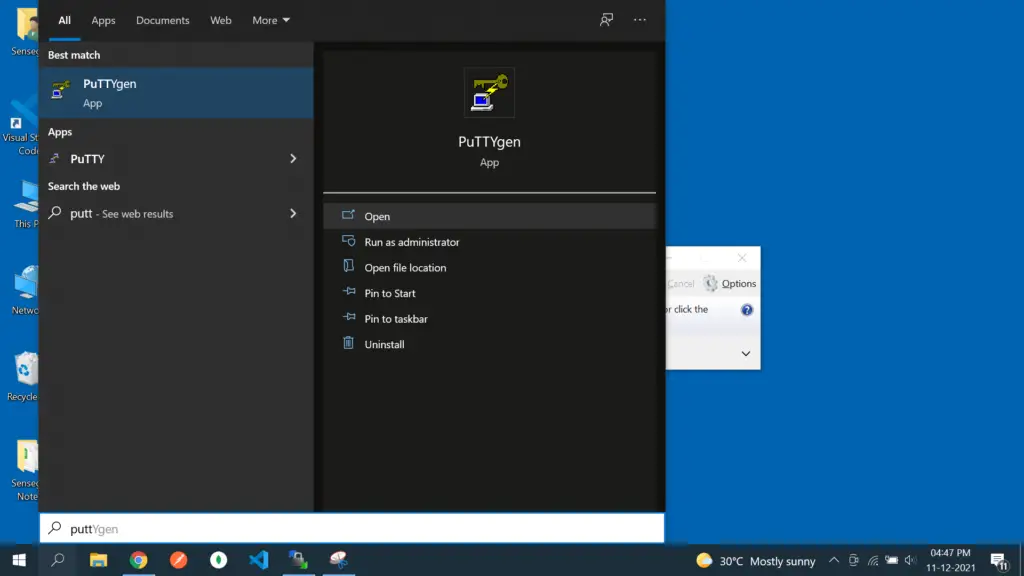
- open putty key generator.
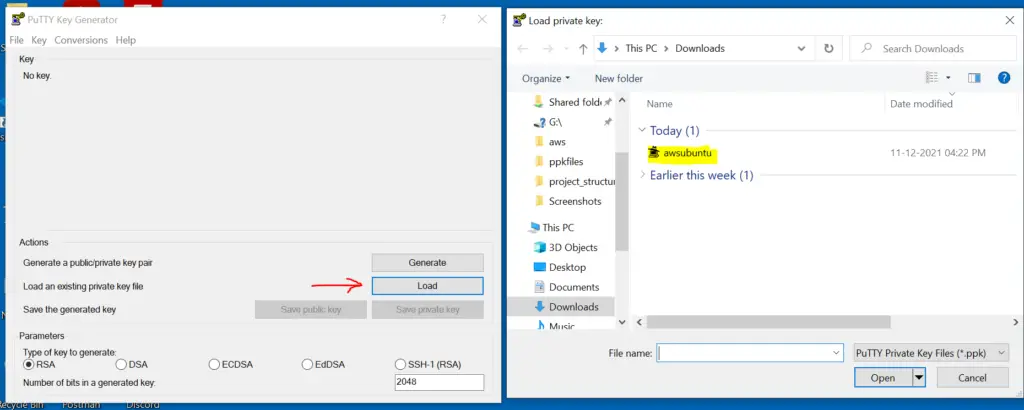
- click on load button.
- browser to .pem file & select it.
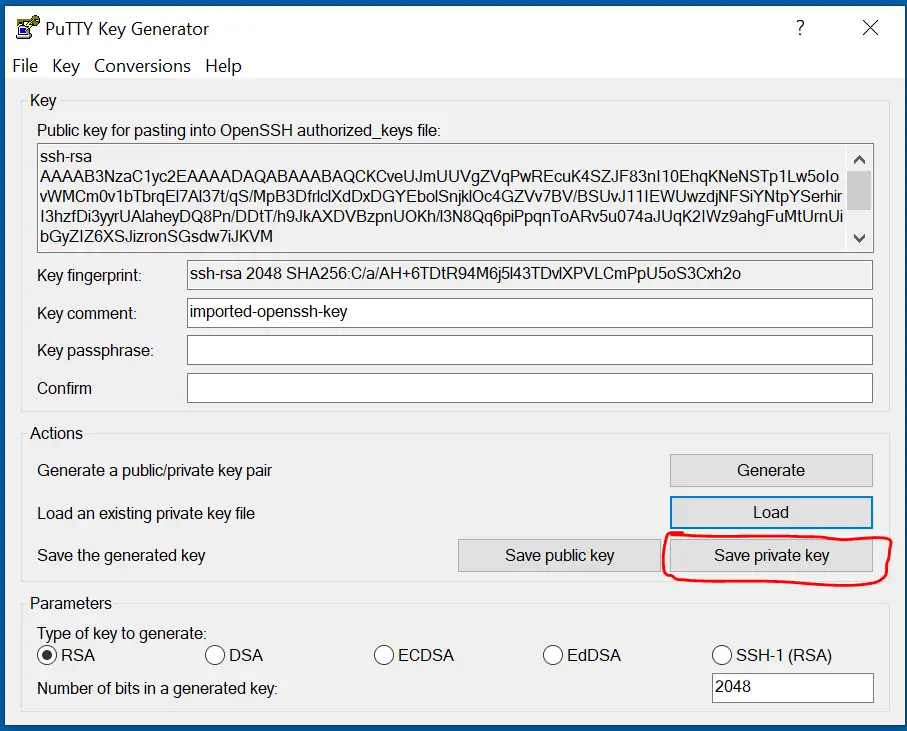
- then click on save private key.
Steps to convert .pem to .ppk – screenshot guide
Open putty gen
click on load button & browser to pem file
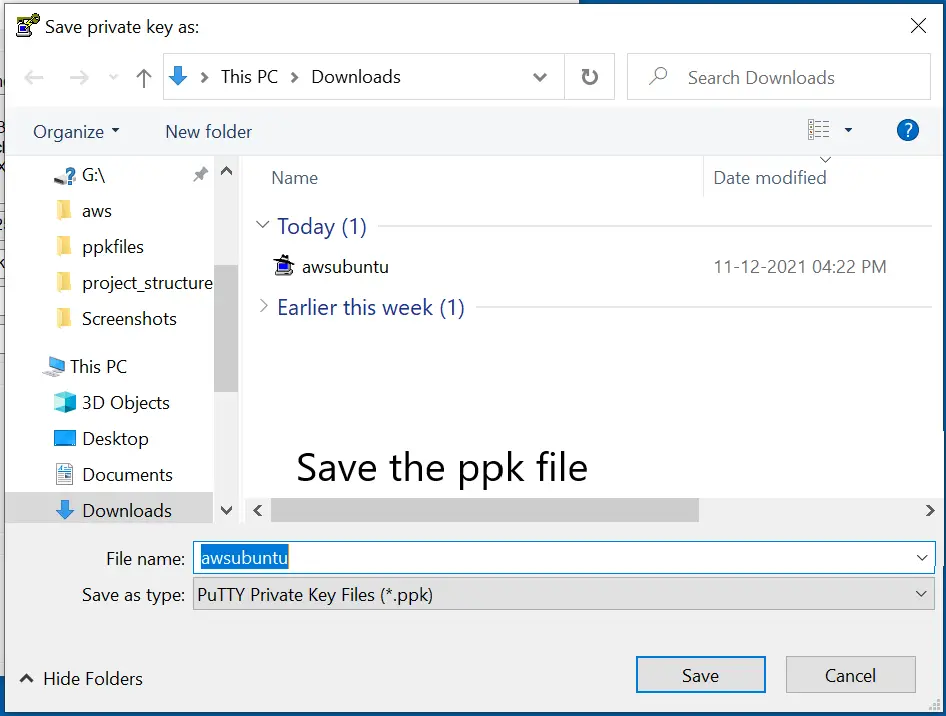
click on save private key & save ppk file
Step 2: Connect to AWS instance using winSCP
Here are the step to use winSCP to connect to AWS server using ppk file.
- open winSCP.
- click on new session.
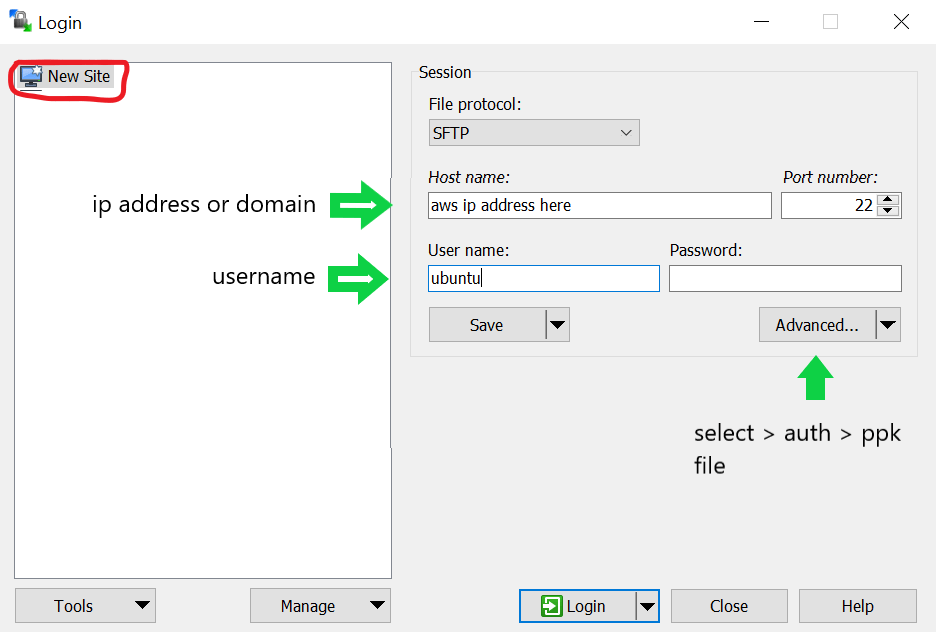
- new Site: file protocal (SFTP) > Fill Host Name (ip address) > username (ubuntu).
- click on advanced button.
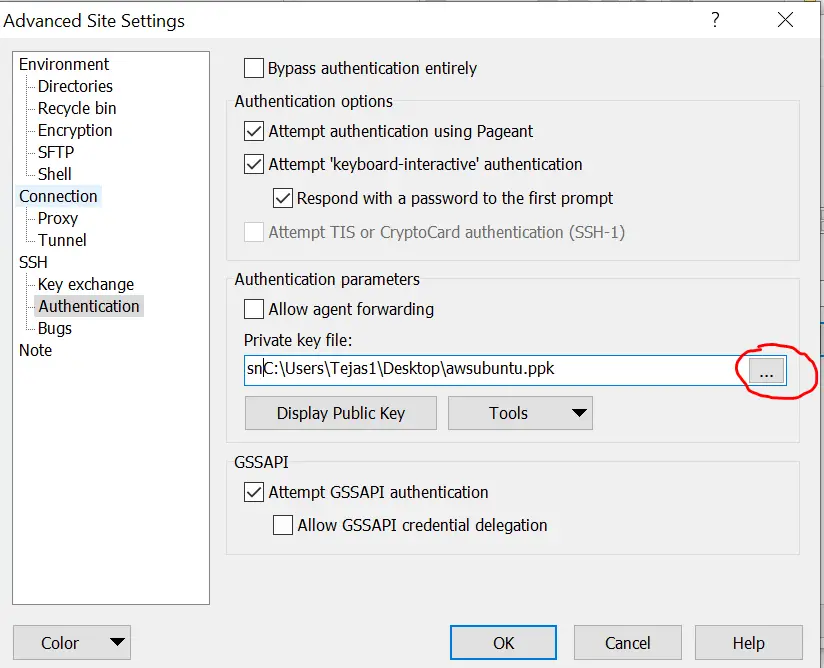
- SSH > Authentication > browser to the ppk file you have created.
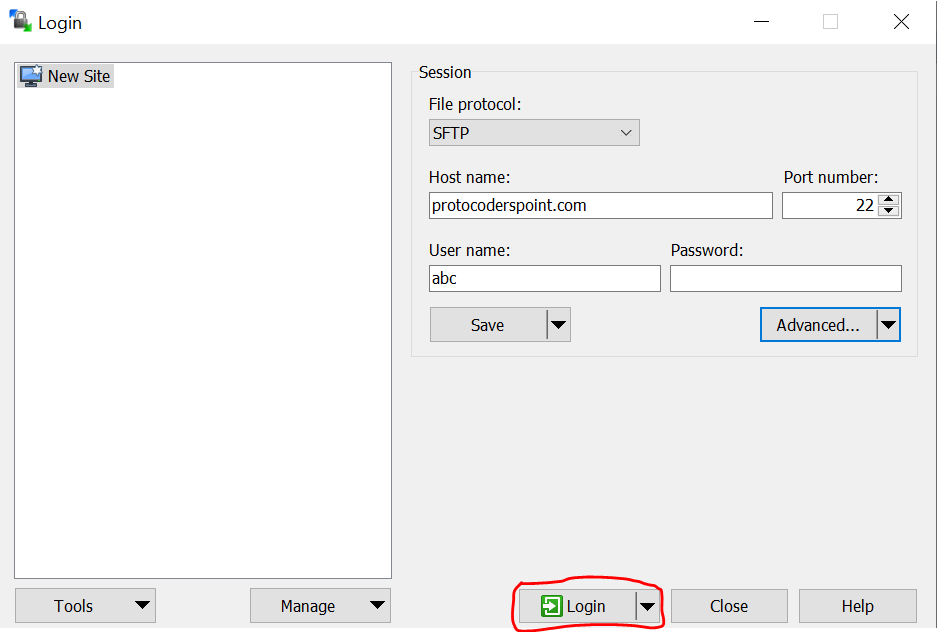
- Login
Steps in Screenshot guide
open winscp > new Session

new Site: file protocal (SFTP) > Fill Host Name (ip address) > username (ubuntu).
Advanced Button > SSH > Authentication > browser to the ppk file you have created.
click on login button
Therefore, you have successfully connected to AWS server using WinSCP.


